
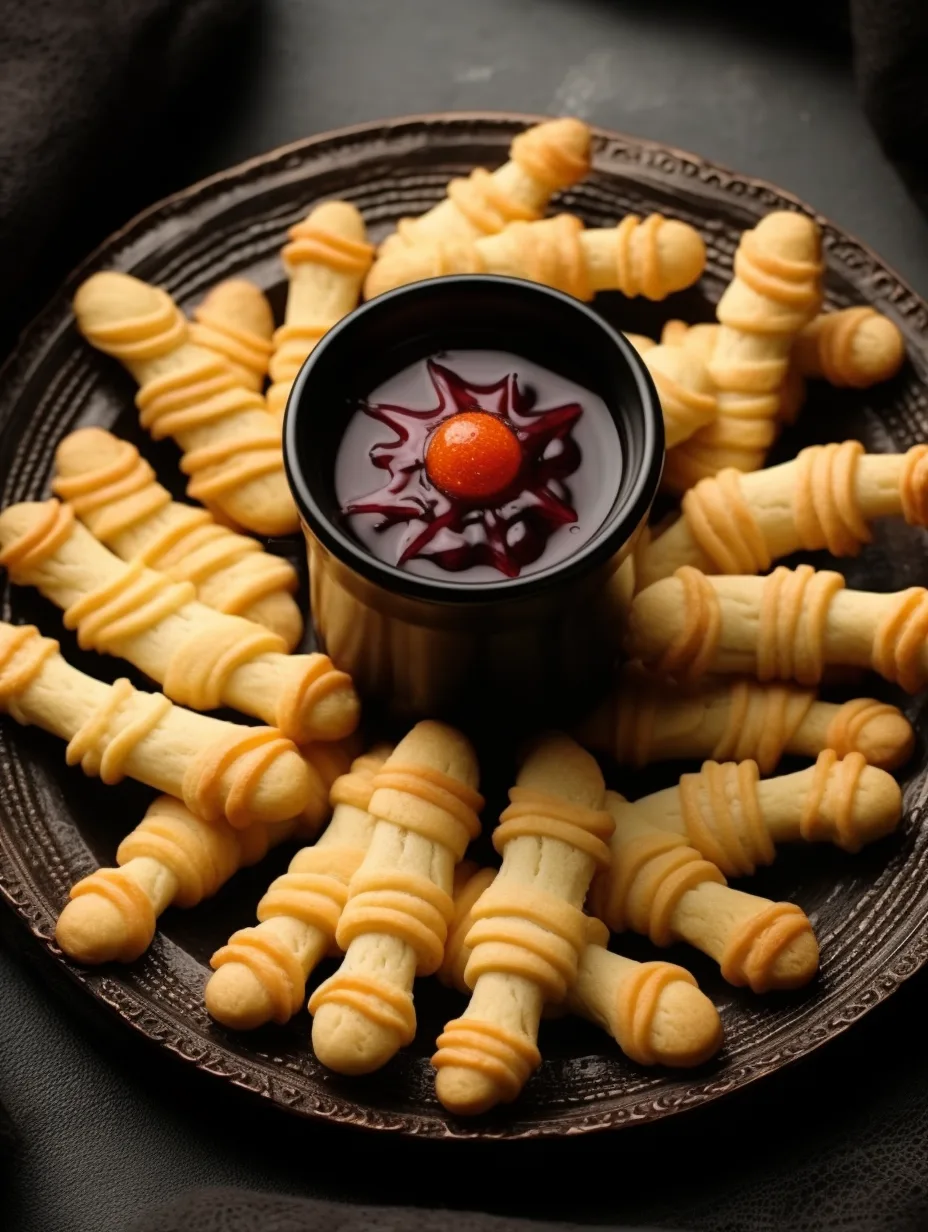
Witch’s Fingers Cookies are a holiday favorite that brings a delightful blend of creepiness and deliciousness to your festivities. Perfect for Halloween, these cookies blend a bit of eerie fun with amazing flavor. Their unique appearance, resembling gnarled witch’s fingers, is sure to capture the attention of both adults and children alike. Imagine the looks of surprise and delight as you unveil this enchanting treat at your next Halloween gathering or themed party.
The base of Witch’s Fingers Cookies is a simple almond-flavored butter cookie that is not only easy to make but also incredibly satisfying to eat. With a slight crunch on the outside and a soft, chewy inside, these cookies are one of those treats that just begs to be devoured. The added touch of slivered almonds acts as the “fingernails,” which adds to the spooky appearance while enhancing the cookie’s nutty flavor.
Whether you are baking them for a Halloween party, a haunted house, or just as a fun activity with the kids, these cookies are sure to become an essential part of your seasonal traditions. This guide will take you step-by-step through the process of making these Witch’s Fingers Cookies, helping you create a dessert that is not only visually striking but also simply irresistible. Get ready to elevate your baking game with this ultimate recipe that combines frightful fun and amazing taste!
Why You’ll Love This Recipe
The appeal of Witch’s Fingers Cookies stretches beyond their frighteningly fun appearance. Here are several reasons why you’ll be thrilled to whip up this delightful recipe:
1. Eerie Yet Tasty: It’s the perfect combination of spooky looks and scrumptious flavor.
2. Simple Ingredients: You likely have most of the ingredients already residing in your pantry.
3. Kid-Friendly: Engage your little ones in the baking process, making it a fun family activity.
4. Versatile: Feel free to customize with spices or toppings to suit your preferences.
5. Impressive Presentation: The unique shape is visually stunning and will wow your guests.
6. Perfect for Celebrations: Ideal for Halloween parties or themed events, these cookies will be a hit!
These aspects not only make Witch’s Fingers Cookies a fantastic addition to your culinary repertoire but they also ensure that baking them is an enjoyable experience for all involved. Trust us, once you start baking these amazing cookies, they will become a seasonal staple year after year!
Preparation and Cooking Time
Preparing Witch’s Fingers Cookies is straightforward, and the time commitment is reasonably short. Below is a breakdown of the entire process:
– Preparation Time: 20 minutes
– Cooking Time: 15-20 minutes
– Cooling Time: 10 minutes
In total, you can expect the entire process to take about 45-50 minutes from start to finish. This makes it easy to include baking these cookies in your busy schedule, allowing you to enjoy delicious treats without spending all day in the kitchen.
Ingredients
– 1 cup unsalted butter, softened
– 1 cup powdered sugar
– 1 large egg
– 1 teaspoon vanilla extract
– 2 ½ cups all-purpose flour
– ¼ teaspoon salt
– ½ teaspoon almond extract
– ½ teaspoon baking powder
– Slivered almonds (for nails)
– Red gel food coloring (optional, for blood effect)
Step-by-Step Instructions
Making Witch’s Fingers Cookies is a simple yet creative process. Follow these easy steps for amazing results:
1. Preheat your oven: Set your oven to 350°F (175°C) and line baking sheets with parchment paper.
2. Cream the butter and sugar: In a large bowl, cream together the softened butter and powdered sugar until light and fluffy.
3. Add egg and extracts: Beat in the egg, vanilla extract, and almond extract until fully incorporated.
4. Mix dry ingredients: In another bowl, mix the flour, salt, and baking powder.
5. Combine mixtures: Gradually add the dry ingredients to the wet mixture, stirring until the dough comes together.
6. Chill the dough: Cover the dough with plastic wrap and chill it in the refrigerator for 30 minutes for easier handling.
7. Shape the cookies: Once chilled, take small pieces of dough and roll them into finger-like shapes, tapering one end to form a “finger.”
8. Add the nails: Press slivered almonds into the tapered end of each cookie to resemble fingernails.
9. Create knuckles: Using a small knife, lightly press lines into the cookies to resemble knuckles.
10. Bake: Place the cookies on the prepared baking sheets and bake for 15-20 minutes, or until lightly golden.
11. Cool down: Remove from the oven and let cool on the baking sheet for a few minutes before transferring them to a wire rack to cool completely.
12. Add blood (optional): For an extra spooky touch, you can drizzle or dab red gel food coloring onto the cookies to resemble blood.
Following these steps will provide you with a batch of Witch’s Fingers Cookies that are both eerily realistic and irresistibly delicious!
How to Serve
To make the most of your Witch’s Fingers Cookies, consider these serving suggestions to elevate your presentation:
1. Display Creatively: Arrange the cookies on a spooky platter or within a cauldron for a hauntingly fun effect.
2. Accompaniments: Pair with themed drinks or hot apple cider to complement the eerie aesthetic.
3. Creative Pairings: Use these cookies as fun toppers for Halloween-themed desserts or ice cream sundaes.
4. Themed Place Settings: For a Halloween gathering, incorporate the cookies into your table setting with fun decor and spooky accents.
5. Gift Potential: Wrap them in clear bags with spooky ties and give them as fun Halloween treats to friends or neighbors.
These suggestions can enhance the experience of enjoying Witch’s Fingers Cookies, making them a highlight of your Halloween festivities!
Additional Tips
– Use Fresh Almonds: For the best flavor, use fresh slivered almonds. They add a nice crunch and enhance the nutty flavor of the cookies.
– Practice Shaping: If you’re new to shaping cookies, practice with a small piece of dough first. This way, you’ll get comfortable with the finger shape.
– Experiment with Flavor: Feel free to add spices such as cinnamon or nutmeg to the cookie dough for an autumn twist.
– Look for Inspiration: Use online resources or cookbooks to spark your creativity and find fun ways to present these cookies.
– Involve the Kids: Let your kids help with shaping and decorating to make baking a fun family experience.
Recipe Variation
Get creative with these fun variations for your Witch’s Fingers Cookies:
1. Chocolate Version: Substitute part of the flour with cocoa powder to create chocolate-flavored fingers.
2. Ghostly Fingers: Instead of slivered almonds, use white chocolate pieces or mini marshmallows for a ghostly twist.
3. Seasonal Spices: Incorporate spices like pumpkin spice for a fall flavor that aligns perfectly with Halloween.
4. Halloween Sprinkles: Dip the cookies in colored chocolate and sprinkle with Halloween sprinkles for added fun and flair.
Freezing and Storage
– Storage: Keep your Witch’s Fingers Cookies in an airtight container at room temperature for up to one week.
– Freezing: To freeze, lay the cookies in a single layer in a freezer-safe bag or container. They can be frozen for up to three months. Allow to thaw at room temperature before serving.
Special Equipment
To prepare Witch’s Fingers Cookies successfully, you will need a few essential tools:
– Mixing bowls
– Electric mixer (or a sturdy whisk)
– Parchment paper for lining the baking sheets
– Baking sheets
– Baking spatula for transferring cookies
– Refrigerator for chilling dough
Frequently Asked Questions
How can I achieve the perfect finger shape?
A firm grip and a gentle rolling motion will help shape the dough into elongated “fingers.” Don’t worry if they’re not perfectly uniform!
Can I make this dough ahead of time?
Yes! You can prepare the dough in advance and store it in the refrigerator for up to two days before shaping and baking.
Are these cookies gluten-free?
To make a gluten-free version, simply replace regular flour with a gluten-free flour blend.
What should I do if the dough is too sticky?
If your dough feels too sticky, add a little more flour, a tablespoon at a time, until it reaches a workable consistency.
Can I decorate these cookies further?
Absolutely! Get creative with edible glitter, icing, or themed candies to enhance their spooky appearance.
Conclusion
Witch’s Fingers Cookies are a perfect combination of spookiness and scrumptiousness, guaranteed to elevate any Halloween celebration. Their unique appearance will impress your guests, while their delicious almond flavor will leave everyone wanting more. With a few simple tips, variations, and storage suggestions, you can transform your family kitchen into a delightful Halloween baking zone. Whether enjoyed fresh out of the oven or as a spooky treat at a gathering, these cookies are an essential part of any fall festivities. Get baking, and let the witchy fun begin!

Witch’s Fingers Cookies: An Amazing Ultimate Recipe
- Total Time: 27 minute
Ingredients
– 1 cup unsalted butter, softened
– 1 cup powdered sugar
– 1 large egg
– 1 teaspoon vanilla extract
– 2 ½ cups all-purpose flour
– ¼ teaspoon salt
– ½ teaspoon almond extract
– ½ teaspoon baking powder
– Slivered almonds (for nails)
– Red gel food coloring (optional, for blood effect)
Instructions
Making Witch’s Fingers Cookies is a simple yet creative process. Follow these easy steps for amazing results:
1. Preheat your oven: Set your oven to 350°F (175°C) and line baking sheets with parchment paper.
2. Cream the butter and sugar: In a large bowl, cream together the softened butter and powdered sugar until light and fluffy.
3. Add egg and extracts: Beat in the egg, vanilla extract, and almond extract until fully incorporated.
4. Mix dry ingredients: In another bowl, mix the flour, salt, and baking powder.
5. Combine mixtures: Gradually add the dry ingredients to the wet mixture, stirring until the dough comes together.
6. Chill the dough: Cover the dough with plastic wrap and chill it in the refrigerator for 30 minutes for easier handling.
7. Shape the cookies: Once chilled, take small pieces of dough and roll them into finger-like shapes, tapering one end to form a “finger.”
8. Add the nails: Press slivered almonds into the tapered end of each cookie to resemble fingernails.
9. Create knuckles: Using a small knife, lightly press lines into the cookies to resemble knuckles.
10. Bake: Place the cookies on the prepared baking sheets and bake for 15-20 minutes, or until lightly golden.
11. Cool down: Remove from the oven and let cool on the baking sheet for a few minutes before transferring them to a wire rack to cool completely.
12. Add blood (optional): For an extra spooky touch, you can drizzle or dab red gel food coloring onto the cookies to resemble blood.
Following these steps will provide you with a batch of Witch’s Fingers Cookies that are both eerily realistic and irresistibly delicious!
- Prep Time: 20 minutes
- Cook Time: 15-20 minutes
Nutrition
- Serving Size: 24 cookies
- Calories: 90 kcal per cookie
- Fat: 5g
- Protein: 1g