
Stars and Stripes Red, White, and Blue Cookies are the perfect treat to celebrate patriotism and creativity. These cookies not only bring a colorful and vibrant display but also deliver amazing flavor that captures the spirit of any festive occasion. Ideal for Fourth of July gatherings, Memorial Day picnics, or any event honoring the red, white, and blue, this delightful dessert appeals to both children and adults alike.
The combination of buttery cookie dough with the sweetness of royal icing creates a treat that is as delicious as it is visually appealing. Imagine taking a bite of these delectable cookies, with their soft texture and beautiful colors, leaving you in awe and excitement. You’ll quickly see why everyone wants a chance to indulge in Stars and Stripes Red, White, and Blue Cookies. They are more than just cookies; they are a celebration of American spirit and unity.
In this article, we’ll explore what makes this recipe so special, how to prepare it, and tips on serving these festive cookies. Get ready to impress your friends and family with your baking skills as you discover the magic behind Stars and Stripes Red, White, and Blue Cookies!
Why You’ll Love This Recipe
Stars and Stripes Red, White, and Blue Cookies are not your average cookie; they offer a delightful blend of flavor and creativity. Here’s why you will absolutely adore this recipe:
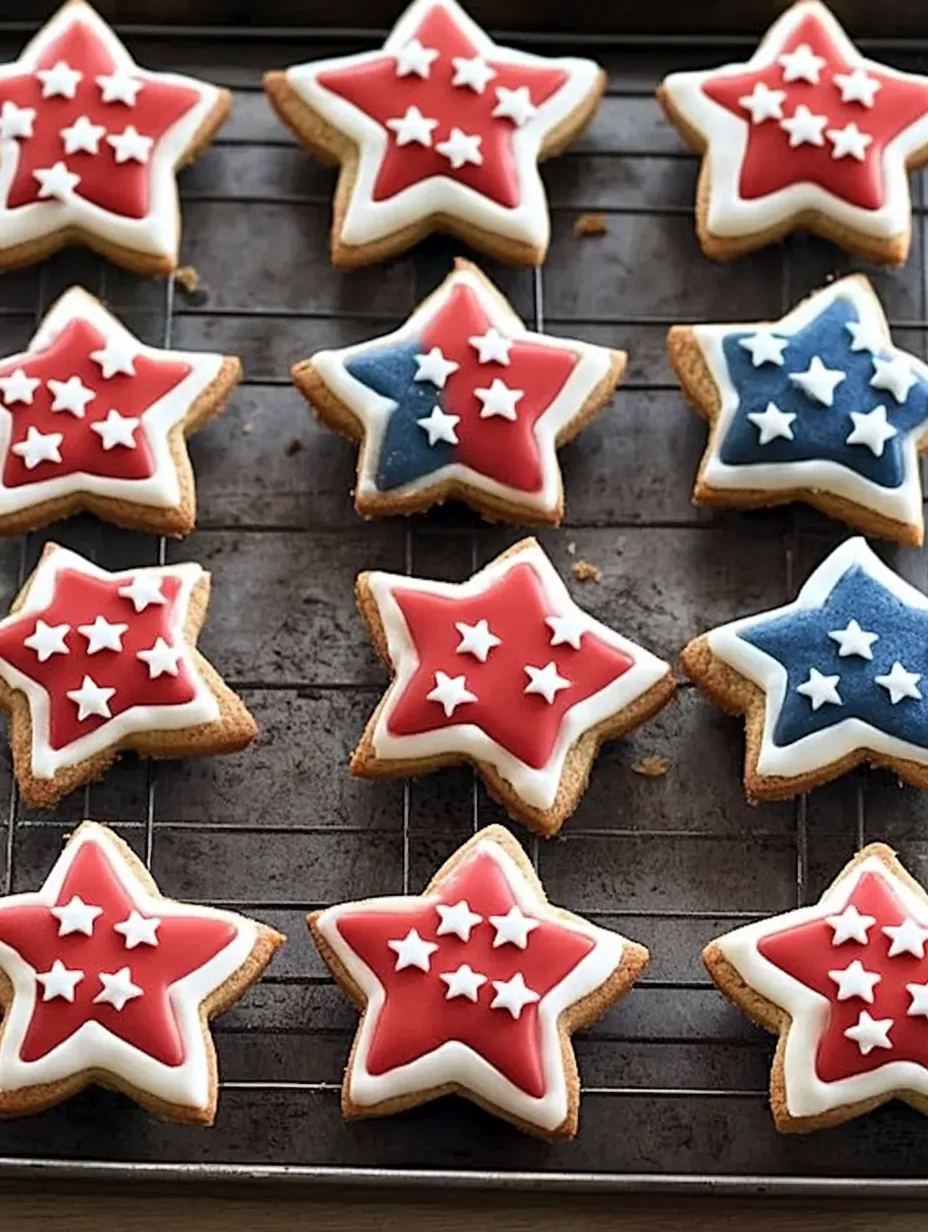
1. Eye-Catching Design: The vibrant red, white, and blue colors make these cookies perfect for any patriotic celebration.
2. Simple to Make: With straightforward ingredients and instructions, even beginner bakers can create these impressive cookies.
3. Versatile Options: You can use various cookie shapes and decorating techniques to personalize them for any event.
4. Loved by All: Both kids and adults will love these cookies, making them ideal for gatherings and parties.
5. A Sweet Treat: The blend of flavors will leave you craving more with each bite.
6. Fun Activity: Decorating these cookies can be a fun activity to do with friends and family, fostering creativity and laughter.
With these fantastic reasons in mind, you’re sure to see why these cookies have become a summer staple for many households. Each bite brings a sense of joy and festivity, making every celebration memorable.
Preparation and Cooking Time
Preparing Stars and Stripes Red, White, and Blue Cookies requires about 1 hour and 30 minutes from start to finish. Here’s what to expect:
– Preparation Time: 30 minutes
– Cooking Time: 12-15 minutes per batch
– Cooling Time: 30-45 minutes (allowing the icing to set)
Depending on how many cookie batches you plan to make, these times may vary slightly. However, this breakdown provides a solid framework for your baking adventure.
Ingredients
– 2 ½ cups all-purpose flour
– 1 teaspoon baking powder
– ½ teaspoon salt
– 1 cup unsalted butter, softened
– 1 cup granulated sugar
– 1 large egg
– 1 teaspoon vanilla extract
– ½ teaspoon almond extract (optional)
– Red and blue food coloring
– Royal icing (prepared from powdered sugar, egg whites, and water)
Step-by-Step Instructions
Making Stars and Stripes Red, White, and Blue Cookies is an enjoyable process. Follow these easy steps to create your own batch of festive cookies:
1. Preheat Oven: Begin by preheating your oven to 350°F (175°C). Line baking sheets with parchment paper.
2. Mix Dry Ingredients: In a medium bowl, whisk together the flour, baking powder, and salt. Set it aside.
3. Cream Butter and Sugar: In a large bowl, cream the softened butter and granulated sugar together until light and fluffy.
4. Add Egg and Extracts: Beat in the egg, vanilla extract, and almond extract (if using), mixing well to combine.
5. Incorporate Dry Ingredients: Gradually add the flour mixture to the butter mixture, stirring until fully blended.
6. Divide Dough: Divide the cookie dough evenly into three separate bowls.
7. Color the Dough: Add red food coloring to one bowl, blue food coloring to another, and leave the third bowl plain (white). Mix until the colors are fully incorporated.
8. Chill the Dough: Cover each bowl with plastic wrap and refrigerate the colored dough for at least 30 minutes to firm up.
9. Roll Out the Dough: Once chilled, roll each colored dough into sticks or use cookie cutters to make shapes.
10. Layer the Colors: For layered cookies, take pieces of each dough and gently press them together to form a thick layer.
11. Bake the Cookies: Place cookies on the prepared baking sheets and bake for 12-15 minutes until edges are golden.
12. Cool: Remove from the oven and let the cookies cool on the baking sheet for 5 minutes before transferring them to wire racks to cool completely.
13. Decorate with Icing: Once completely cool, decorate your cookies with royal icing to add a visual pop (use designs like stars, stripes, or other shapes).
14. Allow to Set: Let the decorated cookies sit until the icing hardens completely, which may take 30-45 minutes.
By following these steps, you will craft beautifully decorated cookies that not only look stunning but also taste incredible!
How to Serve
To impress your guests and elevate the presentation of your Stars and Stripes Red, White, and Blue Cookies, consider the following tips:
1. Display: Use a decorative tray or cake stand to showcase your cookies. Arrange them in an eye-catching pattern for added visual appeal.
2. Accompaniments: Pair with a variety of beverages such as lemonade, iced tea, or coffee to enhance the experience.
3. Party Favors: Wrap cookies individually in clear cellophane and tie with a ribbon for guests to take home as festive favors.
4. Themed Table Settings: Create a themed table setting with stars and stripes decor to complement the cookies and enhance the festive atmosphere.
5. Serving Size: Ensure that each cookie is of a generous size, encouraging guests to enjoy several or come back for seconds.
By paying attention to how you serve these delightful cookies, you will not only impress your guests but also create cherished memories around the celebration of patriotism. Stars and Stripes Red, White, and Blue Cookies are sure to be the highlight of any gathering, bringing smiles and joy to all who partake.
With this incredible ultimate recipe, you are now equipped to bake and serve these festive cookies that will make your celebrations truly memorable. Happy baking!
Additional Tips
– Use Room Temperature Ingredients: Ensure your butter and egg are at room temperature for optimal mixing. This helps achieve the right texture in your cookies.
– Sprinkle Sea Salt: For an added flavor burst, sprinkle a pinch of flaky sea salt on top of the cookies before baking.
– Experiment with Shapes: Use fun cookie cutters to create stars, stripes, or any patriotic symbols to make your cookies even more festive.
– Use Gel Food Coloring: Gel food coloring gives a more vibrant hue compared to liquid coloring and requires less.
– Layering Colors: For a striped effect, roll out thin pieces of colored dough and layer them before cutting into shapes.
Recipe Variation
Feel free to adapt this cookie recipe to suit different tastes and occasions. Here are some exciting variations to try:
1. Chocolate Version: Substitute 1/2 cup of all-purpose flour with cocoa powder for a rich chocolate cookie base while maintaining the colorful design.
2. Gluten-Free Option: Use a gluten-free flour blend to make these cookies accessible to those with dietary restrictions.
3. Add-Ins: Incorporate mini chocolate chips or sprinkles into the dough for added texture and sweetness.
4. Nutty Flavor: Mix in chopped walnuts or pecans for a crunchy texture and a nutty flavor boost.
5. Royal Icing Variations: Instead of traditional royal icing, consider using flavored icing such as lemon or almond for a unique twist.
Freezing and Storage
– Storage: Store the cookies in an airtight container at room temperature for up to one week. This helps to maintain their freshness and soft texture.
– Freezing: To preserve your Stars and Stripes Red, White, and Blue Cookies, freeze them in a single layer on a baking sheet first. Once solid, store them in a freezer bag or airtight container for up to three months. For best quality, thaw at room temperature for several hours before serving.
Special Equipment
Using the right tools can enhance your baking experience. Here’s what you’ll need:
– Mixing Bowls: Having a few sizes on hand is helpful for separating your colored doughs.
– Electric Mixer: A stand mixer or hand mixer will make creaming butter and sugar easier.
– Parchment Paper: Lining your baking sheets ensures easy clean-up and prevents sticking.
– Cookie Cutters: A variety of shapes will help you create visually appealing cookies. Think stars, hearts, or patriotic symbols.
– Cooling Racks: Allowing the cookies to cool completely on a rack ensures they don’t get soggy.
Frequently Asked Questions
How can I ensure my cookies hold their shapes after baking?
Chilling the dough before baking is essential. It helps the cookies maintain their shape as they bake.
Can I use store-bought royal icing?
Yes, store-bought royal icing can be a convenient option for those who wish to skip the preparation. Just ensure it is of a pipeable consistency.
How do I store leftover royal icing?
Store leftover royal icing in an airtight container at room temperature for up to 3 days. You may need to mix it again before use.
Can I freeze decorated cookies?
Yes, you can freeze decorated cookies! Ensure the icing is completely dry, and wrap them individually in plastic wrap before freezing.
What if I don’t have almond extract?
You can simply omit almond extract or substitute it with additional vanilla extract for a different, yet still delicious, flavor.
Conclusion
Stars and Stripes Red, White, and Blue Cookies are a delightful way to celebrate any patriotic occasion. With their vibrant colors and delicious taste, these cookies can bring joy and festivity to any gathering. Easy to make and fun to decorate, they are sure to enchant both guests and family alike. Whether you’re baking them for the Fourth of July, Memorial Day, or any event that calls for a splash of red, white, and blue, these cookies will be a hit. Get ready to enjoy the sweet taste of celebration with these wonderful cookies!

Stars and Stripes Red, White, and Blue Cookies: An Incredible Ultimate Recipe
- Total Time: 39 minute
Ingredients
– 2 ½ cups all-purpose flour
– 1 teaspoon baking powder
– ½ teaspoon salt
– 1 cup unsalted butter, softened
– 1 cup granulated sugar
– 1 large egg
– 1 teaspoon vanilla extract
– ½ teaspoon almond extract (optional)
– Red and blue food coloring
– Royal icing (prepared from powdered sugar, egg whites, and water)
Instructions
Making Stars and Stripes Red, White, and Blue Cookies is an enjoyable process. Follow these easy steps to create your own batch of festive cookies:
1. Preheat Oven: Begin by preheating your oven to 350°F (175°C). Line baking sheets with parchment paper.
2. Mix Dry Ingredients: In a medium bowl, whisk together the flour, baking powder, and salt. Set it aside.
3. Cream Butter and Sugar: In a large bowl, cream the softened butter and granulated sugar together until light and fluffy.
4. Add Egg and Extracts: Beat in the egg, vanilla extract, and almond extract (if using), mixing well to combine.
5. Incorporate Dry Ingredients: Gradually add the flour mixture to the butter mixture, stirring until fully blended.
6. Divide Dough: Divide the cookie dough evenly into three separate bowls.
7. Color the Dough: Add red food coloring to one bowl, blue food coloring to another, and leave the third bowl plain (white). Mix until the colors are fully incorporated.
8. Chill the Dough: Cover each bowl with plastic wrap and refrigerate the colored dough for at least 30 minutes to firm up.
9. Roll Out the Dough: Once chilled, roll each colored dough into sticks or use cookie cutters to make shapes.
10. Layer the Colors: For layered cookies, take pieces of each dough and gently press them together to form a thick layer.
11. Bake the Cookies: Place cookies on the prepared baking sheets and bake for 12-15 minutes until edges are golden.
12. Cool: Remove from the oven and let the cookies cool on the baking sheet for 5 minutes before transferring them to wire racks to cool completely.
13. Decorate with Icing: Once completely cool, decorate your cookies with royal icing to add a visual pop (use designs like stars, stripes, or other shapes).
14. Allow to Set: Let the decorated cookies sit until the icing hardens completely, which may take 30-45 minutes.
By following these steps, you will craft beautifully decorated cookies that not only look stunning but also taste incredible!
- Prep Time: 15 minutes
- Cook Time: 12-15 minutes
Nutrition
- Serving Size: 24 cookies
- Calories: 120 kcal
- Fat: 5g
- Protein: 1g