
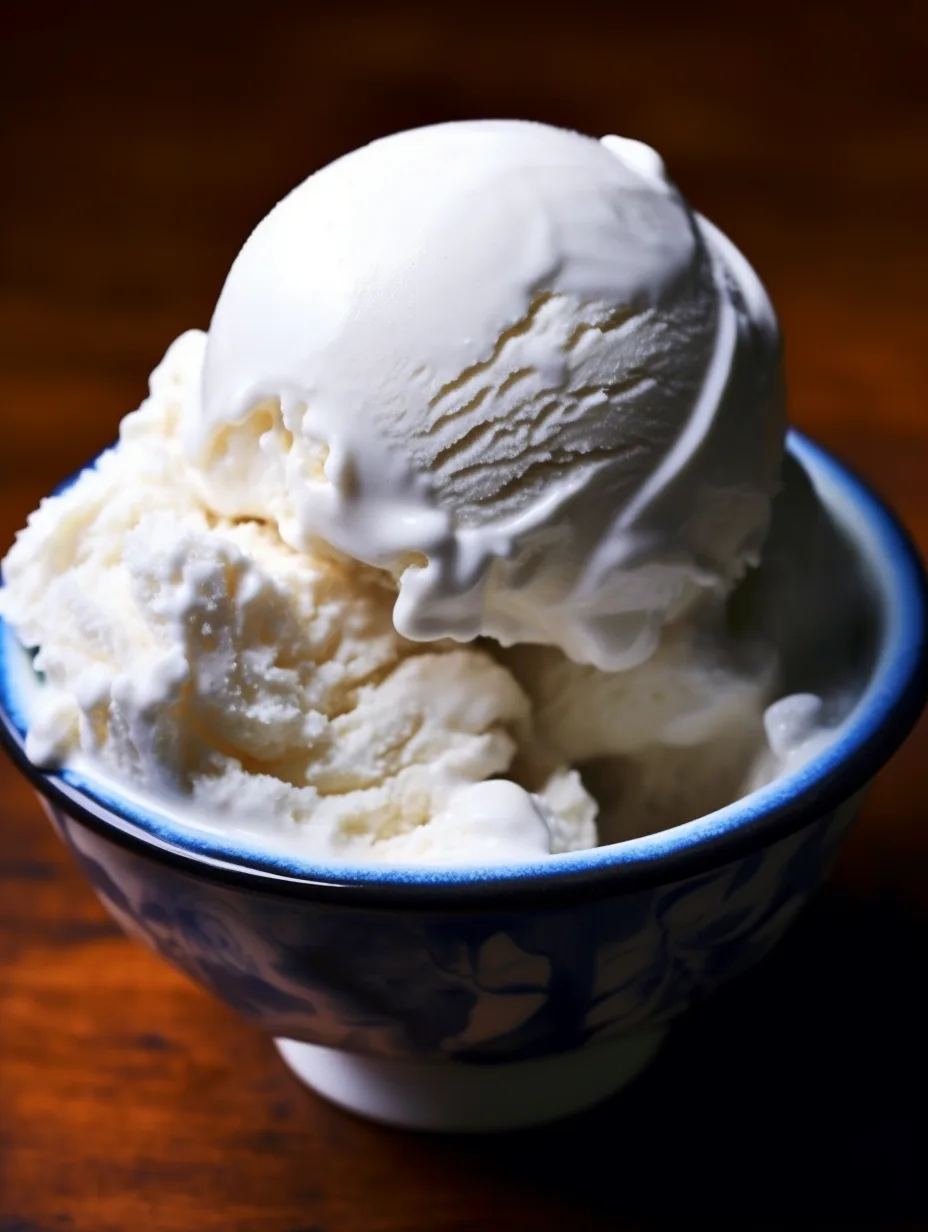
Coconut Ice Cream is the perfect frozen treat to celebrate those warm summer days. It’s creamy, naturally sweet, and bursting with tropical flavors. Coconut ice cream provides a taste of paradise that can brighten anyone’s day, whether enjoyed in a bowl or on a cone. The wonderful combination of coconut milk and shredded coconut creates a rich, velvety texture, making this ice cream irresistible.
If you’ve never tasted homemade coconut ice cream, you’re in for a treat! The luxurious mixture melts in your mouth, delivering a blissful escape to a tropical island. This recipe balances flavors beautifully, making every scoop a celebration in itself. In this article, you’ll discover the reasons to love this incredible coconut ice cream recipe, how to prepare it, and tips on serving it perfectly.
Moreover, making coconut ice cream at home allows you to customize it. Instead of artificial flavors, you will use real coconut, making it a healthier choice. So, let’s explore why this recipe deserves a spot in your kitchen repertoire.
Why You’ll Love This Recipe
Coconut Ice Cream is not only a delightful dessert but also a versatile option that suits various palates. Here are some reasons that will convince you to make it:
1. Simple and Accessible Ingredients: Most of the ingredients needed for this recipe may already be in your kitchen.
2. Healthy Option: Made with coconut milk, this ice cream is dairy-free, making it suitable for those who are lactose intolerant.
3. Customizable Flavors: Add ingredients like chocolate chips, nuts, or even tropical fruits to give this ice cream your personal touch.
4. Impressive Texture: The creamy texture derived from coconut milk will leave you craving more.
5. Perfect Summer Treat: With its refreshing coconut flavor, this ice cream is ideal for your summer parties or casual family gatherings.
6. Easy to Follow Instructions: The recipe is straightforward, ensuring that even if you are a novice in the kitchen, you will achieve excellent results.
With these qualities, it’s easy to see why Coconut Ice Cream is a favorite among many dessert lovers.
Preparation and Cooking Time
Making Coconut Ice Cream is a smooth process that doesn’t require much time, although it does need patience for freezing. Here’s a breakdown of the preparation and freezing times:
– Preparation Time: 15 minutes
– Freezing Time: 4-6 hours (or overnight for best results)
These times may vary based on your equipment and experience, but they provide a good guideline for planning your ice cream-making adventure.
Ingredients
– 2 cans (13.5 ounces each) full-fat coconut milk
– 1 cup granulated sugar
– 1 cup shredded unsweetened coconut
– 1 teaspoon vanilla extract
– Pinch of salt
– Optional: ¼ cup rum (for a softer texture)
Step-by-Step Instructions
Creating Coconut Ice Cream can be straightforward with these easy-to-follow steps:
1. Combine Ingredients: In a large mixing bowl, whisk together the coconut milk, granulated sugar, shredded coconut, vanilla extract, and a pinch of salt until the sugar is completely dissolved.
2. Blend for Smoothness: For a smoother texture, use an immersion blender to blend the mixture until it’s creamy and well combined.
3. Chill the Mixture: Place the mixture in the refrigerator for about 1 hour to chill, enhancing the flavor and texture.
4. Prepare the Ice Cream Maker: If using an ice cream maker, ensure it is pre-frozen according to the manufacturer’s instructions.
5. Churn: Pour the chilled mixture into the ice cream maker and churn according to the machine’s instructions, usually around 20-25 minutes.
6. Transfer to Container: Once the mixture has thickened to a soft-serve consistency, transfer it to an airtight container. If you opted for rum, mix in here.
7. Freeze to Set: Place the container in the freezer for 4-6 hours or overnight until it hardens completely.
8. Serve: Scoop out and enjoy your homemade coconut ice cream, garnished with additional shredded coconut or your favorite toppings, if desired.
How to Serve
To elevate your Coconut Ice Cream experience, consider the following when serving:
1. Presentation: Serve in chilled bowls or waffle cones for a delightful visual appeal.
2. Toppings: Add extras like toasted coconut flakes, fresh fruit, or a drizzle of chocolate sauce to enhance the flavors.
3. Pairing: Complement your ice cream with a tropical drink, such as coconut water or a refreshing mocktail, for a complete tropical experience.
4. Layering: Create a sundae with layers of fruit, ice cream, and a sprinkle of nuts or granola for added texture.
5. Serving Temperature: Allow the coconut ice cream to sit at room temperature for a few minutes before scooping to achieve the desired creaminess.
By paying attention to these serving tips, you can create a memorable experience that all your guests will adore, ensuring that your homemade Coconut Ice Cream is the highlight of any gathering.
Additional Tips
– Use Full-Fat Coconut Milk: For an ultra-creamy texture, make sure to use full-fat coconut milk. It truly makes a difference in mouthfeel.
– Experiment with Sweetness: Depending on your taste preference, feel free to adjust the sugar level. Starting with less sugar is always a good idea, as coconut can be naturally sweet.
– Add a Pinch of Sea Salt: A small amount of sea salt can help elevate the flavors in coconut ice cream and balance sweetness.
– Garnish Generously: Elevate your serving by garnishing with fresh mint leaves, strawberries, or a sprinkle of toasted coconut for added texture and flavor.
– Allow to Soften Before Serving: Before serving, let the ice cream sit at room temperature for about 5 minutes. This makes scooping easier and improves the creaminess.
Recipe Variation
There are numerous ways you can put a twist on traditional Coconut Ice Cream. Here are a few creative variations to try:
1. Chocolate Coconut Ice Cream: Mix in some cocoa powder or melted chocolate to the base for a rich chocolatey flavor that pairs well with the coconut.
2. Tropical Sorbet: Substitute coconut milk for other tropical juices like mango or pineapple for a refreshing sorbet version.
3. Vegan Version: This recipe is already vegan-friendly, but you can ensure no processed sugar is used by substituting granulated sugar with coconut sugar or agave nectar.
4. Coffee Coconut Ice Cream: Add a tablespoon of espresso powder or a shot of brewed coffee to the mixture for a delightful coffee-infused version.
5. Coconut Lime Sorbet: Incorporate lime juice and zest into the mixture for a tangy and refreshing twist that complements the coconut nicely.
Freezing and Storage
– Storage: Keep your coconut ice cream stored in an airtight container in the freezer. Properly stored, it should last up to 2-3 weeks.
– Freezing: If you have leftovers or want to make a batch to enjoy later, ensure it’s fully frozen before sealing. Avoid frequent opening of the container to prevent ice crystals from forming.
Special Equipment
To achieve the best results when making Coconut Ice Cream, consider having the following equipment ready:
– Ice Cream Maker: This is essential for achieving a smooth texture while churning the ice cream.
– Mixing Bowls: You will need a couple of mixing bowls for combining ingredients and chilling the mixture.
– Whisk or Electric Mixer: Use these tools for blending and combining your ingredients effectively.
– Airtight Container: Opt for a sturdy, airtight container for freezing the ice cream without affecting its quality.
Frequently Asked Questions
How can I tell if my ice cream is frozen correctly?
You can check the consistency. The ice cream should be firm and scoopable, not icy or rock solid.
Can I make coconut ice cream without an ice cream maker?
Yes! You can pour the mixture into a container and freeze it. Make sure to stir it every 30 minutes for the first few hours to break up ice crystals.
What can I do if my ice cream is too hard?
If your coconut ice cream is too hard to scoop, let it sit out for a few minutes at room temperature to soften before serving.
How can I enhance the flavor of coconut ice cream?
Consider adding a touch of flavor extracts, like almond or rum, for an extra layer of complexity to the coconut flavor.
Does this recipe contain allergens?
This recipe is dairy-free and suitable for many dietary restrictions, but always check labels if you have severe allergies.
Conclusion
Coconut Ice Cream is a delightful tropical treat that captures the essence of summer in every scoop. With its creamy texture, customizable flavors, and simple preparation, it’s a go-to dessert for gatherings or a refreshing treat on a hot day. The recipe provides a delightful opportunity to get creative while ensuring you enjoy a quality dessert crafted from wholesome ingredients. Once you whip up a batch of this Coconut Ice Cream, you’ll want to share it with everyone and relive the tropical joy it brings.
Coconut Ice Cream: An Incredible Ultimate Delight for Your Summer
- Total Time: 15 minutes
Ingredients
– 2 cans (13.5 ounces each) full-fat coconut milk
– 1 cup granulated sugar
– 1 cup shredded unsweetened coconut
– 1 teaspoon vanilla extract
– Pinch of salt
– Optional: ¼ cup rum (for a softer texture)
Instructions
Creating Coconut Ice Cream can be straightforward with these easy-to-follow steps:
1. Combine Ingredients: In a large mixing bowl, whisk together the coconut milk, granulated sugar, shredded coconut, vanilla extract, and a pinch of salt until the sugar is completely dissolved.
2. Blend for Smoothness: For a smoother texture, use an immersion blender to blend the mixture until it’s creamy and well combined.
3. Chill the Mixture: Place the mixture in the refrigerator for about 1 hour to chill, enhancing the flavor and texture.
4. Prepare the Ice Cream Maker: If using an ice cream maker, ensure it is pre-frozen according to the manufacturer’s instructions.
5. Churn: Pour the chilled mixture into the ice cream maker and churn according to the machine’s instructions, usually around 20-25 minutes.
6. Transfer to Container: Once the mixture has thickened to a soft-serve consistency, transfer it to an airtight container. If you opted for rum, mix in here.
7. Freeze to Set: Place the container in the freezer for 4-6 hours or overnight until it hardens completely.
8. Serve: Scoop out and enjoy your homemade coconut ice cream, garnished with additional shredded coconut or your favorite toppings, if desired.
- Prep Time: 15 minutes
- Cook Time: 0 minutes
Nutrition
- Serving Size: 8
- Calories: 300 kcal
- Fat: 15g
- Protein: 3g