
Classy Cheese Balls are the perfect appetizer that can elevate any gathering. They are not only delicious but also visually appealing, making them a fantastic choice for parties, holidays, or any celebration. The beautiful combination of creamy cheese and various seasonings creates a delightful treat that is hard to resist. Whether you’re hosting a cocktail party or a family gathering, these cheese balls will impress your guests and leave them wanting more.
Imagine the satisfaction of serving a platter of beautifully rolled cheese balls that are bursting with flavor and creativity. Each bite offers a delightful crunch followed by a creamy, cheesy center that melts in your mouth. Classy Cheese Balls can be customized with different herbs, spices, and nuts, allowing you to create a unique flavor profile for every occasion. This recipe will guide you through the process of creating these amazing appetizers, ensuring that even novice cooks can achieve impressive results.
In this article, you’ll learn why Classy Cheese Balls are a must-try, the preparation and cooking time, the essential ingredients needed, step-by-step instructions, and tips on how to serve them elegantly. Get ready to impress your guests with these incredible cheese balls that are sure to be a hit at your next event!
Why You’ll Love This Recipe
Classy Cheese Balls are not just appetizers; they are a culinary experience. Here are some reasons why you’ll absolutely love this recipe:
1. Simple Ingredients: Most of the ingredients are pantry staples, making it easy to whip them up.
2. Versatile Flavor Combinations: You can customize the cheese balls with various herbs, spices, and add-ins, making them suitable for diverse tastes.
3. Perfect for Any Occasion: Whether it’s a holiday party, a birthday celebration, or a casual get-together, these cheese balls fit right in.
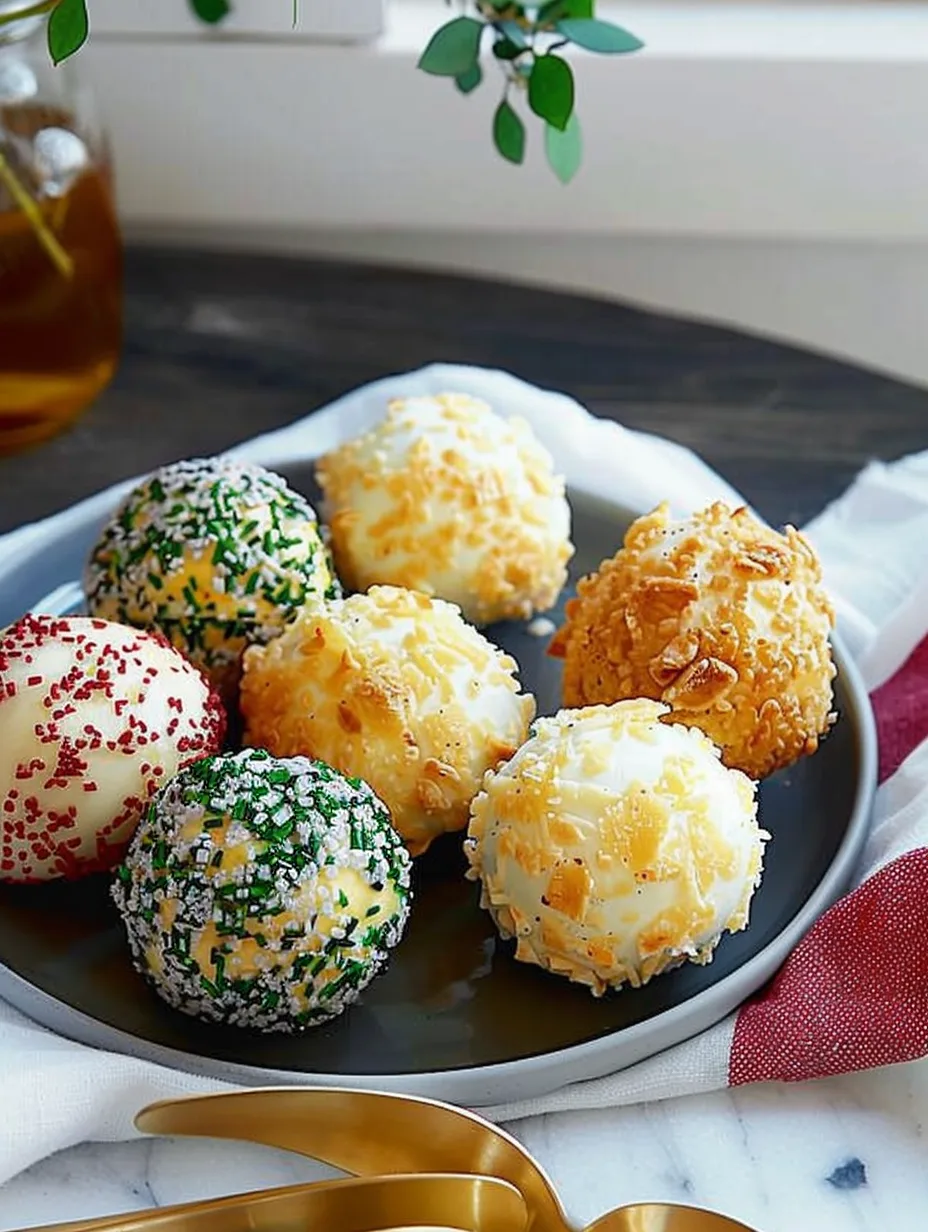
4. Impressive Presentation: Their round shape and vibrant coatings make them visually stunning on any platter.
5. Easy to Make: The straightforward steps ensure that even beginners can create these delicious treats without a hitch.
6. Great for Socializing: Cheese balls are easy to pick up and eat, making them the perfect finger food for mingling guests.
With these compelling reasons, you’ll see why Classy Cheese Balls are a favorite among hosts and guests alike. They offer a delightful mix of textures and flavors, ensuring that each bite is a memorable one!
Preparation and Cooking Time
Creating Classy Cheese Balls is a quick and enjoyable process. Here’s a breakdown of the time required for preparation and cooking:
– Preparation Time: 15 minutes
– Chilling Time: 30 minutes (to firm up the cheese balls)
– Total Time: 45 minutes
These times are approximate and can vary based on your experience and kitchen setup. However, this framework should help you plan your time effectively.
Ingredients
– 8 oz cream cheese, softened
– 1 cup shredded cheddar cheese
– 1 cup crumbled feta cheese
– 1/4 cup finely chopped green onions
– 1/4 cup finely chopped fresh parsley
– 1/2 teaspoon garlic powder
– 1/2 teaspoon onion powder
– 1/2 teaspoon black pepper
– 1 cup crushed nuts (walnuts, pecans, or almonds)
– 1/2 cup breadcrumbs (optional)
– 1 tablespoon hot sauce (optional)
Step-by-Step Instructions
Creating Classy Cheese Balls is straightforward when you follow these simple steps:
1. Mix the Base: In a large mixing bowl, combine the softened cream cheese, shredded cheddar cheese, and crumbled feta cheese. Mix until well blended.
2. Add Flavorings: Stir in the chopped green onions, parsley, garlic powder, onion powder, and black pepper. If you like some heat, add the hot sauce and mix thoroughly.
3. Form the Cheese Balls: Using your hands, scoop out small portions of the cheese mixture and roll them into balls, about 1 inch in diameter.
4. Prepare Coatings: On a plate, spread out the crushed nuts and breadcrumbs (if using) separately.
5. Coat the Cheese Balls: Roll each cheese ball in the crushed nuts or breadcrumbs until fully coated. Ensure they are evenly covered for a nice crunch.
6. Chill: Place the coated cheese balls on a serving platter and refrigerate for at least 30 minutes. This step helps them firm up and makes them easier to serve.
7. Serve: Once chilled, your Classy Cheese Balls are ready to be enjoyed!
These steps will guide you in creating these delightful cheese balls without any hassle.
How to Serve
To make a lasting impression with your Classy Cheese Balls, consider the following serving tips:
1. Presentation: Arrange the cheese balls on a beautiful platter. Add some fresh herbs or edible flowers to enhance the visual appeal.
2. Accompaniments: Serve with an assortment of crackers, sliced baguette, or vegetable sticks. A selection of dips like salsa or a spicy aioli can also elevate the experience.
3. Garnish: Drizzle with a bit of balsamic reduction or sprinkle with additional chopped herbs for a gourmet touch.
4. Beverage Pairing: These cheese balls pair wonderfully with wine, beer, or even a refreshing mocktail, depending on the occasion.
5. Interactive Option: Set up a “build-your-own” cheese ball station where guests can roll their own cheese balls in various coatings and toppings.
By incorporating these serving suggestions, you will create a delightful experience that your guests will remember long after the party ends!
Additional Tips
– Experiment with Cheese: Try using different types of cheese, such as goat cheese or pepper jack, for unique flavor variations.
– Use Fresh Herbs: Fresh herbs can elevate the taste of your Classy Cheese Balls. Consider basil, dill, or chives for added freshness.
– Adjust Texture: If you prefer a creamier texture, add a bit more cream cheese to the mixture. This will give the cheese balls a smoother consistency.
– Make Ahead: Classy Cheese Balls can be prepared the day before your event. Just ensure they are stored in the refrigerator until you are ready to serve.
– Create a Cheeseball Trio: Make three different flavors of cheese balls and serve them together on a platter for a colorful and enticing display.
Recipe Variation
Feel free to get creative with your Classy Cheese Balls! Here are some variations to consider:
1. Spicy Cheese Balls: Add diced jalapeños or a few dashes of cayenne pepper for a spicy kick.
2. Sweet and Savory: Incorporate dried fruit like cranberries or apricots into the cheese mixture for a sweet contrast.
3. Mediterranean Twist: Mix in chopped sun-dried tomatoes and olives for a Mediterranean flavor profile.
4. Smoky Flavor: Add smoked paprika or use smoked cheese for a deep, rich taste.
5. Herbaceous Delight: Incorporate a variety of fresh herbs, like thyme or rosemary, for a herby version.
Freezing and Storage
– Storage: Keep your Classy Cheese Balls covered in an airtight container in the refrigerator. They will remain fresh for about 5 days.
– Freezing: You can freeze the cheese balls for up to 2 months. Just ensure they are well-wrapped in plastic wrap and stored in a freezer-safe container. Thaw them in the refrigerator before serving.
Special Equipment
While you don’t need any specialized equipment to make Classy Cheese Balls, having a few essential tools will make the process smoother:
– Mixing bowls: For combining the cheese and seasonings.
– Measuring cups and spoons: To ensure accurate ingredient measurements.
– Baking sheet: For chilling the cheese balls before serving.
– Plastic wrap: If you plan to freeze them, this will help keep them fresh.
Frequently Asked Questions
Can I use low-fat cream cheese?
Yes, low-fat cream cheese can be used, but it may alter the texture slightly.
What can I substitute for nuts?
If you have nut allergies, consider using crushed pretzels, seeds, or even shredded coconut for coating.
How do I know when the cheese balls are done chilling?
Once the cheese balls are firm to the touch and hold their shape, they are ready to be served.
Can I serve these cheese balls warm?
While they are typically served cold, you can let them sit out for a few minutes to bring them to room temperature before serving.
Can I use flavored cream cheese?
Absolutely! Flavored cream cheese can add an extra layer of taste to your Classy Cheese Balls.
Conclusion
Classy Cheese Balls are not just appetizers; they are a delightful addition to any gathering. Their elegant appearance and versatile flavors make them a favorite among hosts and guests alike. With the simple ingredients and easy preparation steps, you can impress your visitors with a homemade treat that looks and tastes gourmet. Whether you follow the classic recipe or experiment with variations, these cheesy delights are sure to be a hit at your next event!

Classy Cheese Balls: An Incredible Ultimate Recipe for Parties
- Total Time: 15 minutes
Ingredients
– 8 oz cream cheese, softened
– 1 cup shredded cheddar cheese
– 1 cup crumbled feta cheese
– 1/4 cup finely chopped green onions
– 1/4 cup finely chopped fresh parsley
– 1/2 teaspoon garlic powder
– 1/2 teaspoon onion powder
– 1/2 teaspoon black pepper
– 1 cup crushed nuts (walnuts, pecans, or almonds)
– 1/2 cup breadcrumbs (optional)
– 1 tablespoon hot sauce (optional)
Instructions
Creating Classy Cheese Balls is straightforward when you follow these simple steps:
1. Mix the Base: In a large mixing bowl, combine the softened cream cheese, shredded cheddar cheese, and crumbled feta cheese. Mix until well blended.
2. Add Flavorings: Stir in the chopped green onions, parsley, garlic powder, onion powder, and black pepper. If you like some heat, add the hot sauce and mix thoroughly.
3. Form the Cheese Balls: Using your hands, scoop out small portions of the cheese mixture and roll them into balls, about 1 inch in diameter.
4. Prepare Coatings: On a plate, spread out the crushed nuts and breadcrumbs (if using) separately.
5. Coat the Cheese Balls: Roll each cheese ball in the crushed nuts or breadcrumbs until fully coated. Ensure they are evenly covered for a nice crunch.
6. Chill: Place the coated cheese balls on a serving platter and refrigerate for at least 30 minutes. This step helps them firm up and makes them easier to serve.
7. Serve: Once chilled, your Classy Cheese Balls are ready to be enjoyed!
These steps will guide you in creating these delightful cheese balls without any hassle.
- Prep Time: 15 minutes
- Cook Time: 0 minutes
Nutrition
- Serving Size: 24 cheese balls
- Calories: 100 kcal
- Fat: 8g
- Protein: 3g