
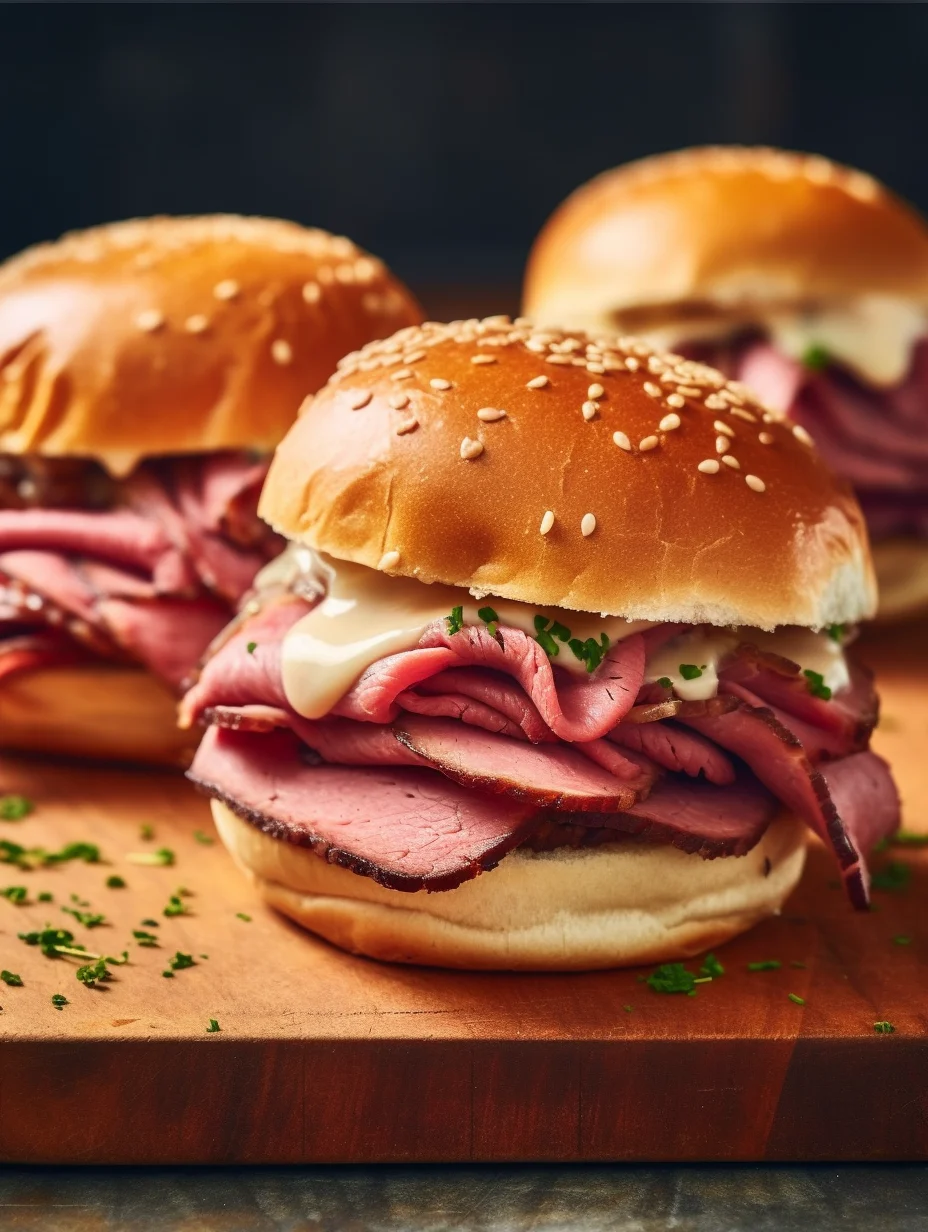
Cut pastrami brisket sliders are an incredible way to elevate your gatherings and meal times. These sliders embrace a combination of flavors and textures that will leave your guests clamoring for more. The tender, juicy pastrami pairs beautifully with fresh toppings, creating a mouthwatering experience that is both satisfying and amazing. Perfect for parties, game days, or a casual dinner, these sliders offer a delightful twist on traditional sandwiches.
If you’ve ever had the pleasure of indulging in a well-made pastrami sandwich, imagine the joy of enjoying that flavor profile in slider form! Each bite is filled with the savory richness of brisket combined with your choice of toppings and condiments. This recipe invites you to explore how easy it is to create cut pastrami brisket sliders that are not only tasty but also visually appealing. Let’s dive into what makes this recipe so special and how you can bring it to life in your kitchen.
The process involves minimal prep and delivers maximum flavor, making these sliders a go-to choice for both novice and experienced cooks. Whether you’re looking to impress guests or simply enjoy a fun food experience at home, these sliders have something for everyone! With flavors that blend seamlessly together, you’ll find yourself craving these delicious treats time and time again.
Why You’ll Love This Recipe
Cut pastrami brisket sliders present an irresistible combination of savory and satisfying elements. Here are several reasons you’ll fall in love with this amazing recipe:
1. Quick and Simple: These sliders are easy to prepare, requiring minimal ingredients and kitchen time.
2. Flavor-Packed: The bold taste of pastrami pairs perfectly with complementary toppings for an outstanding flavor experience.
3. Perfect for Any Gathering: Whether it’s a game night, barbecue, or family dinner, these sliders suit any occasion effortlessly.
4. Customizable: You can easily modify the toppings and sauces to match your palate and dietary needs.
5. Kid-Friendly: The fun size of sliders makes them great for kids and adults alike, appealing to a broad audience.
6. Make-Ahead Option: You can prepare certain elements in advance, making assembly quick on the day of the event.
With these qualities, it’s no wonder that cut pastrami brisket sliders are becoming a popular dish among hosts and food lovers everywhere. The exciting blend of flavors and textures makes this dish a standout at any meal.
Preparation and Cooking Time
Creating cut pastrami brisket sliders requires a total time of about 1 hour and 30 minutes. Here’s a detailed breakdown of the time you’ll need:
– Preparation Time: 20 minutes
– Cooking Time: 30-40 minutes
– Assembly Time: 10-15 minutes
– Resting Time: 10-15 minutes
These times may vary based on your skill level and equipment but should provide a solid framework for planning your cooking experience.
Ingredients
– 1 pound pastrami brisket
– 12 slider buns
– 6 slices Swiss cheese
– 1/2 cup yellow mustard
– 1/2 cup coleslaw (optional)
– 1/4 cup pickles, sliced
– 2 tablespoons olive oil
– 1 tablespoon garlic powder
– 1 tablespoon onion powder
– Salt and pepper to taste
Step-by-Step Instructions
Creating cut pastrami brisket sliders is straightforward when you follow these steps:
1. Preheat Oven: Preheat your oven to 350°F (175°C).
2. Prepare Pastrami: If using a whole brisket, slice the pastrami thinly against the grain.
3. Seasoning: In a bowl, mix the garlic powder, onion powder, salt, and pepper. Lightly coat the sliced pastrami with olive oil and season generously.
4. Heat Pastrami: In a skillet over medium heat, warm the pastrami slices for about 5-7 minutes, allowing the flavors to meld.
5. Prepare Buns: While the pastrami is warming, slice the slider buns in half horizontally.
6. Layer Cheese: Place half of the sliced Swiss cheese on the bottom halves of the buns in a large baking dish.
7. Add Pastrami: Layer the warmed pastrami over the cheese, distributing evenly across all buns.
8. Top with Remaining Cheese: Place the rest of the Swiss cheese on top of the pastrami to create a cheesy layer.
9. Add Mustard: Drizzle yellow mustard over the cheese to enhance the flavor and moisture.
10. Top with Coleslaw and Pickles: If desired, add coleslaw and pickle slices for additional crunch and flavor.
11. Cover with Buns: Place the top halves of the slider buns on the assembled fillings.
12. Bake: Cover the baking dish with aluminum foil and bake for 20 minutes. Remove the foil and bake for an additional 10 minutes until the cheese is melted and the buns are slightly crisp.
13. Resting Time: Allow the sliders to rest for about 10 minutes once removed from the oven for easier handling.
14. Cut and Serve: Cut the sliders into individual portions and serve warm.
These steps will guide you in crafting these delightful sliders that will wow your family and friends!
How to Serve
When it comes to serving cut pastrami brisket sliders, presentation and pairing can enhance the overall enjoyment:
1. Slide Presentation: Arrange the sliders neatly on a wooden or decorative platter for an inviting look.
2. Accompaniments: Serve with sides like potato chips, sweet potato fries, or a fresh salad to create a well-rounded meal.
3. Dipping Options: Offer additional condiments, such as barbecue sauce, spicy mustard, or horseradish sauce for added flavor dynamics.
4. Drink Pairing: Complement the sliders with light beers, iced tea, or lemonade, balancing the richness of pastrami.
5. Finger Food Style: Encourage guests to enjoy the sliders as finger foods, allowing for a casual dining experience.
By paying attention to the details in your presentation and pairing, you create a memorable experience that will have everyone talking about your cut pastrami brisket sliders long after the meal is over.
Additional Tips
– Use Fresh Ingredients: Always opt for fresh produce and quality pastrami for the most delectable sliders. Fresh flavors enhance the overall taste.
– Experiment with Cheese: Beyond Swiss, try sharp cheddar or pepper jack for different flavor profiles. Each cheese brings a unique character to the sliders.
– Keep It Warm: Serve the sliders warm for the best texture and taste. If they need to be prepared in advance, wrap them in foil to maintain heat until serving.
Recipe Variation
Feel free to get creative with your cut pastrami brisket sliders! Here are some ideas to try:
1. BBQ Twist: Add a layer of barbecue sauce under the pastrami for a smoky flavor. Serve with coleslaw for extra crunch.
2. Spicy Variant: Incorporate sliced jalapeños or a spicy aioli to add heat to your sliders for those who enjoy a kick.
3. Breakfast Sliders: Top the pastrami with a fried egg and avocado slices for a unique breakfast option that’s packed with protein.
Freezing and Storage
– Storage: Store leftover sliders in an airtight container in the refrigerator for up to 3 days. Reheat gently in the oven to preserve the bread’s texture.
– Freezing: You can freeze the assembled but unbaked sliders. Wrap them well in plastic wrap and aluminum foil, and they can last up to 2 months. Bake them straight from the freezer, adding a few extra minutes to the cooking time.
Special Equipment
For preparing these amazing sliders, you will need some basic kitchen tools:
– Baking dish: A 9×13 inch baking dish is best for holding and baking your sliders.
– Skillet: A medium skillet for warming pastrami.
– Knife: A sharp knife for slicing the pastrami and slider buns.
– Cutting board: A sturdy cutting board to prepare your ingredients.
– Aluminum foil: For covering the baking dish while baking.
Frequently Asked Questions
Can I use leftover pastrami for this recipe?
Absolutely! Leftover pastrami can add great flavor and save time.
How can I make these sliders vegetarian?
You can replace pastrami with grilled vegetables or plant-based protein alternatives to create a delicious vegetarian option.
Can I customize the buns?
Yes! Feel free to use whole grain, gluten-free, or artisan slider buns depending on your dietary preference.
What toppings do you recommend for a gourmet touch?
Consider adding gourmet toppings like arugula, caramelized onions, or a homemade aioli for an upscale experience.
Are the sliders suitable for outdoor grilling?
Yes, you can assemble them in a grill-safe dish and cover with foil for a great outdoor grilling option.
Conclusion
Cut pastrami brisket sliders are a fun, versatile, and flavorful addition to any meal or gathering. With their customizable elements, easy preparation, and crowd-pleasing appeal, these sliders are sure to become a favorite in any household. Enjoy crafting these delicious bites and impressing your family and friends!

Cut Pastrami Brisket Sliders: An Amazing Ultimate Recipe
- Total Time: 21 minute
Ingredients
– 1 pound pastrami brisket
– 12 slider buns
– 6 slices Swiss cheese
– 1/2 cup yellow mustard
– 1/2 cup coleslaw (optional)
– 1/4 cup pickles, sliced
– 2 tablespoons olive oil
– 1 tablespoon garlic powder
– 1 tablespoon onion powder
– Salt and pepper to taste
Instructions
Creating cut pastrami brisket sliders is straightforward when you follow these steps:
1. Preheat Oven: Preheat your oven to 350°F (175°C).
2. Prepare Pastrami: If using a whole brisket, slice the pastrami thinly against the grain.
3. Seasoning: In a bowl, mix the garlic powder, onion powder, salt, and pepper. Lightly coat the sliced pastrami with olive oil and season generously.
4. Heat Pastrami: In a skillet over medium heat, warm the pastrami slices for about 5-7 minutes, allowing the flavors to meld.
5. Prepare Buns: While the pastrami is warming, slice the slider buns in half horizontally.
6. Layer Cheese: Place half of the sliced Swiss cheese on the bottom halves of the buns in a large baking dish.
7. Add Pastrami: Layer the warmed pastrami over the cheese, distributing evenly across all buns.
8. Top with Remaining Cheese: Place the rest of the Swiss cheese on top of the pastrami to create a cheesy layer.
9. Add Mustard: Drizzle yellow mustard over the cheese to enhance the flavor and moisture.
10. Top with Coleslaw and Pickles: If desired, add coleslaw and pickle slices for additional crunch and flavor.
11. Cover with Buns: Place the top halves of the slider buns on the assembled fillings.
12. Bake: Cover the baking dish with aluminum foil and bake for 20 minutes. Remove the foil and bake for an additional 10 minutes until the cheese is melted and the buns are slightly crisp.
13. Resting Time: Allow the sliders to rest for about 10 minutes once removed from the oven for easier handling.
14. Cut and Serve: Cut the sliders into individual portions and serve warm.
These steps will guide you in crafting these delightful sliders that will wow your family and friends!
- Prep Time: 15 minutes
- Cook Time: 30-40 minutes
Nutrition
- Serving Size: 12 sliders
- Calories: 320 kcal
- Fat: 15g
- Protein: 22g