
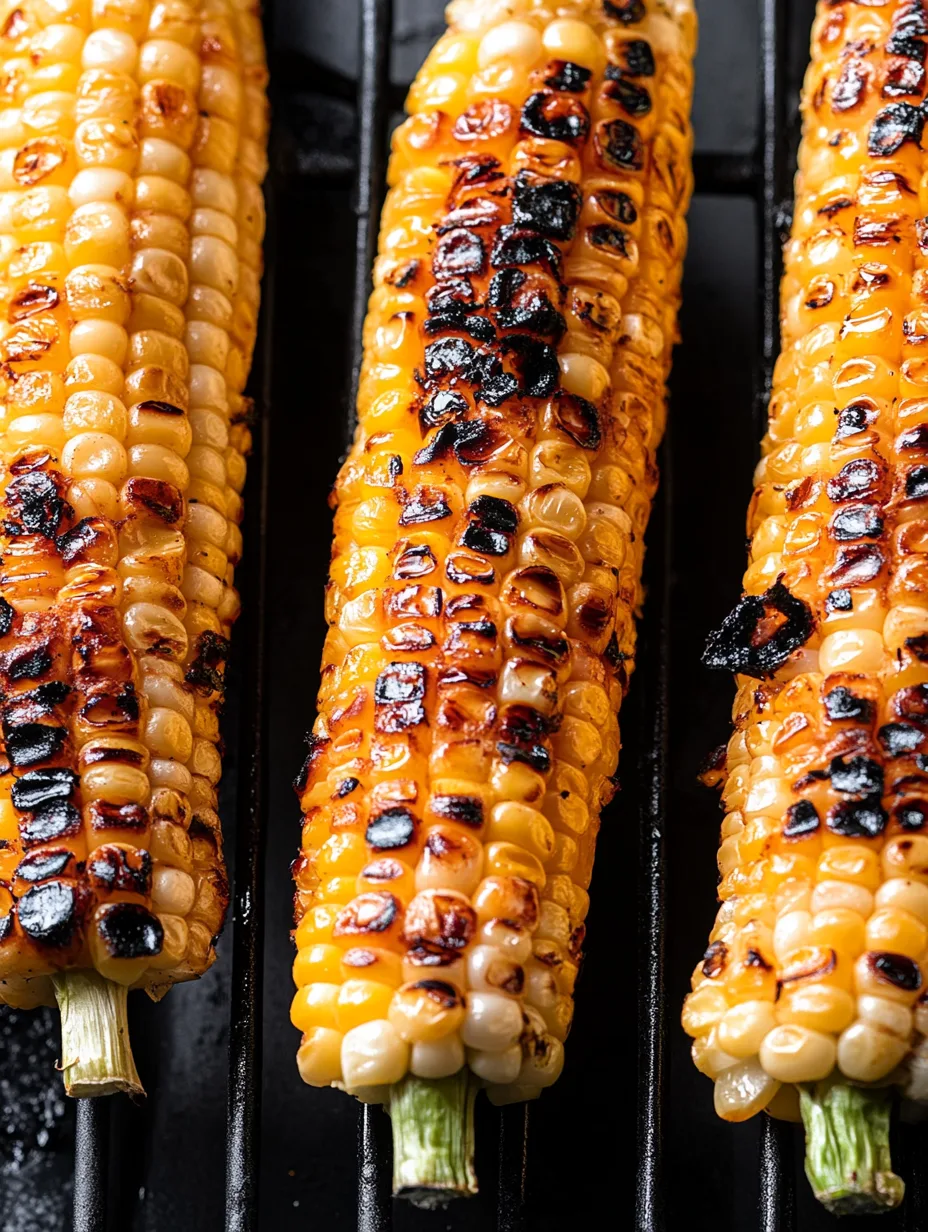
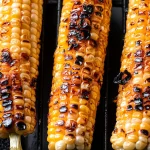
Grilled corn on the cob is an amazing summer treat that everyone loves. The sweet kernels, infused with smoky flavors from the grill, create a delicious harmony that’s hard to resist. When it comes to outdoor dining, nothing beats the joy of biting into a perfectly grilled ear of corn. Whether you’re hosting a backyard barbecue, enjoying a picnic, or just having a casual dinner, grilled corn elevates every meal.
The simplicity of grilled corn on the cob is part of its charm. With just a few ingredients and minimal prep time, you can create a dish that leaves a lasting impression on family and friends. In this article, I’ll walk you through why this recipe is loved by so many, the steps to prepare it, and tips on serving it to enhance your dining experience. Get ready to unlock the secret to grilling the perfect corn on the cob!
Why You’ll Love This Recipe
Grilled corn on the cob is not just a side dish; it’s a celebration of summer flavors. Here are several reasons why you’ll adore this recipe:
1. Quick and Easy: Preparing grilled corn is simple and fast, making it perfect for busy weeknights or spontaneous gatherings.
2. Customizable Flavors: You can top your corn with various seasonings and sauces, making it unique to your taste preferences.
3. Fresh Ingredients: Grilling corn allows the natural sweetness of the corn to shine, providing a fresh and wholesome flavor.
4. Perfect for Everyone: This dish is suitable for vegetarians, vegans, and meat lovers alike, making it a versatile choice for any gathering.
5. Great for Any Occasion: Whether it’s a holiday barbecue or a picnic in the park, grilled corn on the cob fits seamlessly into any setting.
6. Impressive Presentation: A platter of grilled corn looks beautiful and adds a vibrant touch to your meal.
Once you take a bite of grilled corn on the cob, you’ll understand why it’s a favorite for so many. Each bite bursts with flavor, reminding you of sunny days and enjoyable times spent with loved ones.
Preparation and Cooking Time
The total preparation and cooking time for grilled corn on the cob is approximately 30 minutes. Here’s a breakdown of the time required:
– Preparation Time: 10 minutes
– Grilling Time: 15-20 minutes
– Resting Time: 5 minutes
This timeframe makes it easy to incorporate grilled corn into a larger meal or to serve it as a standalone treat!
Ingredients
– 4 ears of fresh corn, husked
– 4 tablespoons unsalted butter (or vegan butter)
– Salt, to taste
– Black pepper, to taste
– Optional seasonings (e.g., chili powder, paprika, garlic powder, parmesan cheese)
– Fresh herbs (e.g., cilantro or parsley for garnish)
Step-by-Step Instructions
Creating grilled corn on the cob is straightforward. Just follow these simple steps:
1. Husk the Corn: Remove the husks and silk from the corn. Rinse under cold water to clean.
2. Preheat the Grill: Preheat your grill to medium-high heat (about 400°F or 200°C).
3. Prepare the Corn: If you want, soak the corn in cold water for 10-15 minutes. This can help prevent the kernels from burning, but it’s optional.
4. Add the Butter: Brush the ears of corn with melted butter. Make sure it’s evenly distributed for maximum flavor.
5. Season the Corn: Sprinkle salt, pepper, and any optional seasonings on the corn before placing it on the grill.
6. Grill the Corn: Place the corn on the grill. Cook for about 15-20 minutes, turning every few minutes to ensure even grilling.
7. Check for Doneness: The corn is done when it’s tender and has grill marks. It should feel soft when pierced with a knife.
8. Rest the Corn: Remove corn from the grill and let it rest for about 5 minutes. This allows the steam to escape and enhances the flavor.
9. Garnish and Serve: Top with additional butter and herbs if desired. Serve warm.
How to Serve
To make your grilled corn on the cob even more delightful, consider the following serving tips:
1. Presentation: Serve the corn on a large platter lined with parchment paper for an inviting look.
2. Flavor Enhancements: Offer a variety of toppings such as lime wedges, feta cheese, and different flavored butters. This allows guests to customize their corn.
3. Pairing Options: Serve grilled corn alongside burgers, hot dogs, or salad for a complete meal. It pairs wonderfully with dishes like grilled chicken or shrimp.
4. Serve Fresh: Corn is best enjoyed fresh off the grill. If preparing for a gathering, time it so the corn is ready to serve as soon as guests arrive.
Grilled corn on the cob will undoubtedly be a hit at your next gathering. Its delicious flavor and perfect texture make it a must-have side dish that complements any meal. Enjoy this incredible treat and create memorable experiences with its tantalizing taste!
Additional Tips
– Use Fresh Corn: For the best flavor, choose ears of corn that feel heavy and have bright green husks. Fresh corn enhances the sweetness and juiciness of your dish.
– Pre-soak for Extra Juiciness: If you choose to soak the corn, it will steam slightly while grilling, resulting in plump, juicy kernels.
– Grill with the Husk: Alternatively, you can grill the corn in its husk for a more intense flavor. Just soak the corn in water for 30 minutes before grilling.
Recipe Variation
Feel free to explore these variations to personalize your grilled corn on the cob:
1. Mexican Street Corn: After grilling, slather the corn with mayonnaise, sprinkle with cotija cheese, chili powder, and fresh cilantro for a delicious twist.
2. Spicy Corn: Add a dash of cayenne pepper or a drizzle of hot sauce to build a spicy kick on your corn before serving.
3. Herb-Infused Butter: Mix fresh herbs like basil, dill, or rosemary into your butter for a fragrant and flavorful twist.
Freezing and Storage
– Storage: Keep any uneaten grilled corn in an airtight container in the refrigerator. It will last for up to 3 days.
– Freezing: If you have leftover corn, cut it off the cob and freeze in a sealed bag for up to 6 months. This is perfect for adding to future recipes.
Special Equipment
While grilling corn on the cob is quite simple, having the right tools can enhance your experience:
– Grill: Whether it’s charcoal or gas, a good grill is essential for flavor.
– Basting Brush: This tool makes it easy to apply butter and seasonings evenly.
– Tongs: Use tongs to safely turn the corn while it grills without burning yourself.
– Aluminum Foil (optional): If you’re grilling individual pieces, wrapping them in foil can help retain moisture.
Frequently Asked Questions
What type of corn is best for grilling?
Sweet corn varieties, like Silver Queen or HomeGuard, are ideal for grilling due to their sweetness.
Can I grill frozen corn?
Yes, you can grill frozen corn. Just thaw it and soak it in water for 10-15 minutes before grilling to avoid burning.
How can I tell when my corn is done?
Your corn is ready when the kernels are tender, and you see golden grill marks. A simple poke with a knife should show it’s soft.
Is it necessary to soak corn before grilling?
Soaking is optional; it helps to create steam while grilling for juicier corn but is not essential for great results.
Can I use flavored butters on my corn?
Certainly! Flavored butters, such as garlic, herb, or citrus butter, can elevate the taste of your grilled corn on the cob.
Conclusion
Grilled corn on the cob is a delightful addition to any meal, packed with flavor and incredibly easy to prepare. Its versatility allows for a range of toppings and seasonings, making it appealing for everyone. Whether you enjoy it plain or embellished with unique flavors, grilled corn is sure to be a hit at any gathering. Try this simple recipe, and celebrate the tastes of summer with each juicy bite!
Grilled Corn On The Cob: An Incredible Ultimate Recipe You Must Try
- Total Time: 37 minute
Ingredients
– 4 ears of fresh corn, husked
– 4 tablespoons unsalted butter (or vegan butter)
– Salt, to taste
– Black pepper, to taste
– Optional seasonings (e.g., chili powder, paprika, garlic powder, parmesan cheese)
– Fresh herbs (e.g., cilantro or parsley for garnish)
Instructions
Creating grilled corn on the cob is straightforward. Just follow these simple steps:
1. Husk the Corn: Remove the husks and silk from the corn. Rinse under cold water to clean.
2. Preheat the Grill: Preheat your grill to medium-high heat (about 400°F or 200°C).
3. Prepare the Corn: If you want, soak the corn in cold water for 10-15 minutes. This can help prevent the kernels from burning, but it’s optional.
4. Add the Butter: Brush the ears of corn with melted butter. Make sure it’s evenly distributed for maximum flavor.
5. Season the Corn: Sprinkle salt, pepper, and any optional seasonings on the corn before placing it on the grill.
6. Grill the Corn: Place the corn on the grill. Cook for about 15-20 minutes, turning every few minutes to ensure even grilling.
7. Check for Doneness: The corn is done when it’s tender and has grill marks. It should feel soft when pierced with a knife.
8. Rest the Corn: Remove corn from the grill and let it rest for about 5 minutes. This allows the steam to escape and enhances the flavor.
9. Garnish and Serve: Top with additional butter and herbs if desired. Serve warm.
- Prep Time: 15 minutes
- Cook Time: 15-20 minutes
Nutrition
- Serving Size: 4
- Calories: 150 kcal
- Fat: 7g
- Protein: 4g