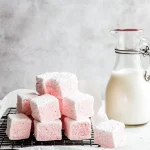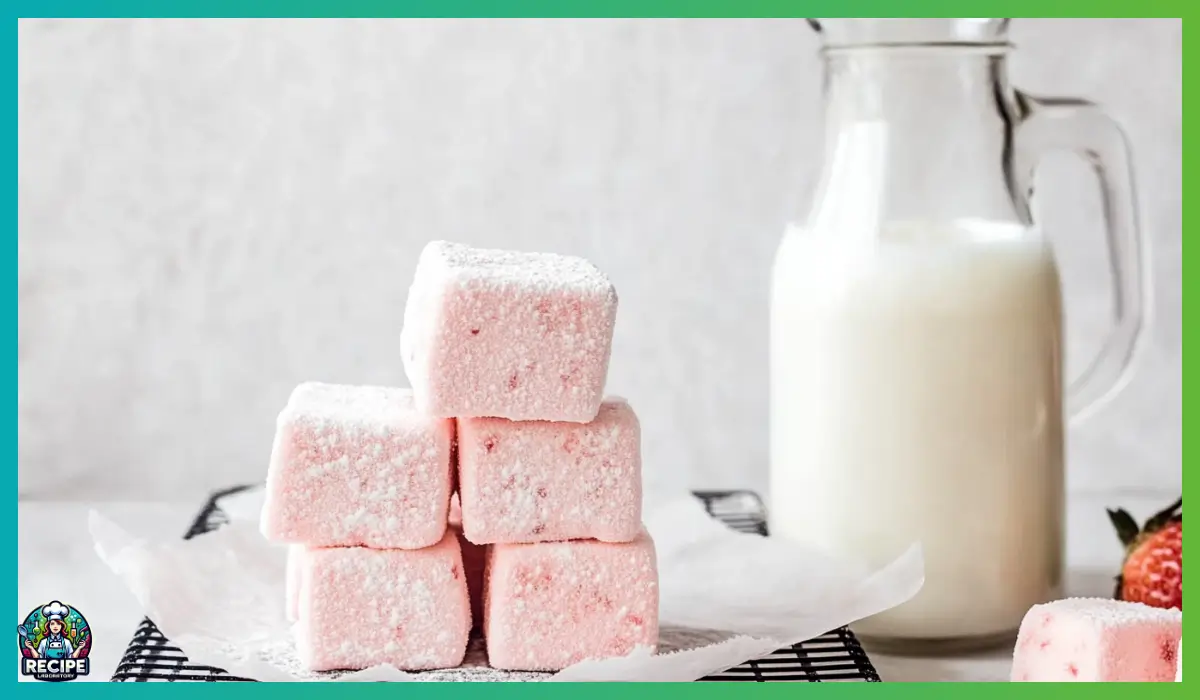
There’s something magical about homemade Strawberry Marshmallows Recipe. They’re softer, fluffier, and more flavorful than anything you can buy in a store. And when you add strawberries to the mix? Pure perfection. This Strawberry Marshmallows Recipe are bursting with real strawberry flavor, thanks to freeze-dried strawberries that pack a concentrated punch. They’re sweet, airy, and melt-in-your-mouth soft, making them perfect for hot chocolate, s’mores, or just snacking straight from the jar.
The best part? They’re surprisingly easy to make. If you’ve never made marshmallows before, don’t worry—I’ll walk you through every step, and you’ll be whipping up fluffy pink clouds of goodness in no time. Plus, there’s no need for fancy ingredients—just sugar, gelatin, corn syrup, and, of course, strawberries. Whether you’re making these for a special treat, a homemade gift, or just because, you’ll love how fresh, fruity, and fun they are!
Why You’ll Love This Strawberry Marshmallows Recipe
These homemade strawberry marshmallows are a game-changer. Unlike store-bought marshmallows, which can be overly sweet and artificially flavored, these are made with real strawberries for an authentic, fruity taste.
- Super fluffy and soft – They have a delicate, melt-in-your-mouth texture.
- Packed with real strawberry flavor – Thanks to freeze-dried strawberries, every bite is bursting with berry goodness.
- Perfect for s’mores and hot cocoa – Add them to your favorite drinks or toast them for a delicious caramelized crunch.
- Great for gifting – Wrap them up in a cute bag for a homemade present that everyone will love.
- Easy to make – No baking required, and I’ll guide you through each step!
How Long Does It Take to Make this Strawberry Marshmallows Recipe?
Making homemade marshmallows is mostly about patience. While the hands-on time is minimal, they do need a few hours to set properly.
- Prep Time: 15 minutes
- Cooking Time: 10 minutes
- Cooling/Setting Time: 6 hours (or overnight for best results)
- Total Time: About 6 hours and 30 minutes
- Servings: Makes about 24 marshmallows
Ingredients You’ll Need to make this Strawberry Marshmallows Recipe
For the Marshmallow Coating:
- ¼ cup cornstarch – Helps prevent the marshmallows from sticking together.
- ¼ cup powdered sugar – Adds a light sweetness to the coating.
- ¼ cup powdered freeze-dried strawberries – Infuses extra strawberry flavor into the coating.
For the Marshmallows:
- 3 packets (about 7g each) of unflavored gelatin – The key to a bouncy, fluffy texture.
- 1 cup ice-cold water (divided) – Used for both blooming the gelatin and making the syrup.
- 1½ cups granulated sugar – Provides sweetness and structure.
- 1 cup light corn syrup – Keeps the texture smooth and prevents crystallization.
- ¼ teaspoon salt – Balances the sweetness.
- 1 teaspoon vanilla extract – Adds warmth and depth of flavor.
- ¾ cup powdered freeze-dried strawberries – The secret to intense strawberry flavor without excess moisture.
Step-by-Step Instructions to make this Strawberry Marshmallows Recipe
Step 1: Prepare the Strawberry Powder
Start by blending freeze-dried strawberries in a food processor or blender until they become a fine powder. This will be used in both the marshmallow batter and the coating. Set aside.
Step 2: Make the Marshmallow Coating
In a small bowl, whisk together powdered sugar, cornstarch, and some of the strawberry powder. This mixture will keep the marshmallows from sticking together. Lightly dust a parchment-lined 8×8-inch pan with this mixture.
Step 3: Bloom the Gelatin
In the bowl of a stand mixer, combine the gelatin and ½ cup cold water. Let it sit for about 5-10 minutes to allow the gelatin to absorb the water and bloom.
Step 4: Make the Sugar Syrup
In a medium saucepan over medium-high heat, combine the remaining ½ cup of water, granulated sugar, corn syrup, and salt. Stir until the sugar dissolves, then stop stirring. Attach a candy thermometer to the pan and let the mixture boil until it reaches 240°F (firm-ball stage). This should take about 8-10 minutes.
Step 5: Whip the Marshmallow Mixture
Once the syrup reaches 240°F, remove it from the heat. Turn the mixer on low speed and slowly drizzle the hot syrup into the bloomed gelatin. Be careful—it’s very hot!
Once all the syrup is added, increase the mixer speed to high and beat for 10-15 minutes, until the mixture becomes thick, glossy, and tripled in volume. It should be light and fluffy, like marshmallow cream.
Step 6: Add Flavoring
In the last minute of mixing, add the vanilla extract and powdered freeze-dried strawberries. Mix until fully incorporated.
Step 7: Pour & Set the Marshmallows
Using a greased spatula, quickly transfer the marshmallow mixture into the prepared pan. Smooth out the top as best as you can, then dust with more of the strawberry coating. Let it sit at room temperature for at least 6 hours or overnight.
Step 8: Cut & Coat
Once set, remove the marshmallow slab from the pan and place it on a cutting board. Use a sharp knife or pizza cutter dusted with the coating mix to cut the marshmallows into squares. Toss them in the remaining strawberry coating to prevent sticking.
How to Serve this Strawberry Marshmallows Recipe
- Hot Chocolate – Drop them into a warm cup for a fruity twist.
- Berry S’mores – Swap regular marshmallows for these in s’mores.
- Sweet Snack – Enjoy them as-is for a soft, fluffy treat.
- Cakes & Cupcakes – Use as a topping for extra texture.
- Ice Cream Topping – Sprinkle over ice cream for a chewy contrast.
- Gifting Idea – Package in a cute bag for a homemade treat.
Storage Tips
To keep your marshmallows fresh and soft:
- Store in an airtight container at room temperature for up to 2 weeks.
- Avoid humidity—moisture can make them sticky.
- Freeze for longer storage—just place them in a freezer-safe bag and let them come to room temperature before eating.
Ways to Enjoy Strawberry Marshmallows Recipe
- Hot Chocolate Perfection – Drop a few into a mug of hot cocoa for a fruity twist.
- Berry S’mores – Swap traditional marshmallows for these in s’mores for an extra burst of flavor.
- Sweet Snack – Enjoy them on their own, because why not?
- Gift Idea – Package them in a cute bag with a ribbon for a homemade treat.
Tips for Perfect Homemade Marshmallows
- Use a candy thermometer – This ensures the syrup reaches the correct temperature for a stable marshmallow structure.
- Work quickly – Once the marshmallow mixture is ready, you need to pour it into the pan immediately before it sets.
- Dust everything – Coat your hands, spatula, and knife in the marshmallow mix to prevent sticking.
- Let them set fully – Rushing the setting time can result in sticky or overly soft marshmallows.
Recipe Variations
- Chocolate-Covered Strawberry Marshmallows – Dip the finished marshmallows in melted chocolate and let them harden for an extra indulgent treat.
- Vanilla Strawberry Swirl – Before pouring the mixture into the pan, swirl in a bit of vanilla bean paste for a two-tone look.
- Extra Fruity Marshmallows – Add small bits of freeze-dried strawberries for a fun texture boost.
- Coconut-Coated – Swap the marshmallow mix for toasted coconut for a tropical twist.
Frequently Asked Questions (FAQ)
1. Can I use fresh strawberries?
No, fresh strawberries add too much moisture. Use freeze-dried strawberries for the best texture and flavor.
2. What can I use instead of corn syrup?
Honey or golden syrup works but may slightly change the texture.
3. Do I need a candy thermometer?
Yes, it ensures the syrup reaches 240°F, the perfect temperature for fluffy marshmallows.
4. Can I make these without a stand mixer?
A hand mixer can work, but it will take longer and require more effort.
5. How long do they last?
Up to 2 weeks in an airtight container at room temperature.
6. Can I freeze them?
Yes, store them in a freezer-safe container for up to 3 months.
7. Why are my marshmallows sticky?
Coat them well in the powdered sugar mix and store in a dry place.
8. Can I use other flavors?
Yes! Try raspberries, blueberries, or mangoes for different fruit flavors.
9. Can I dip them in chocolate?
Absolutely! Melted dark or white chocolate makes them even better.
10. How do I cut them neatly?
Use a sharp knife or pizza cutter dusted with powdered coating.