
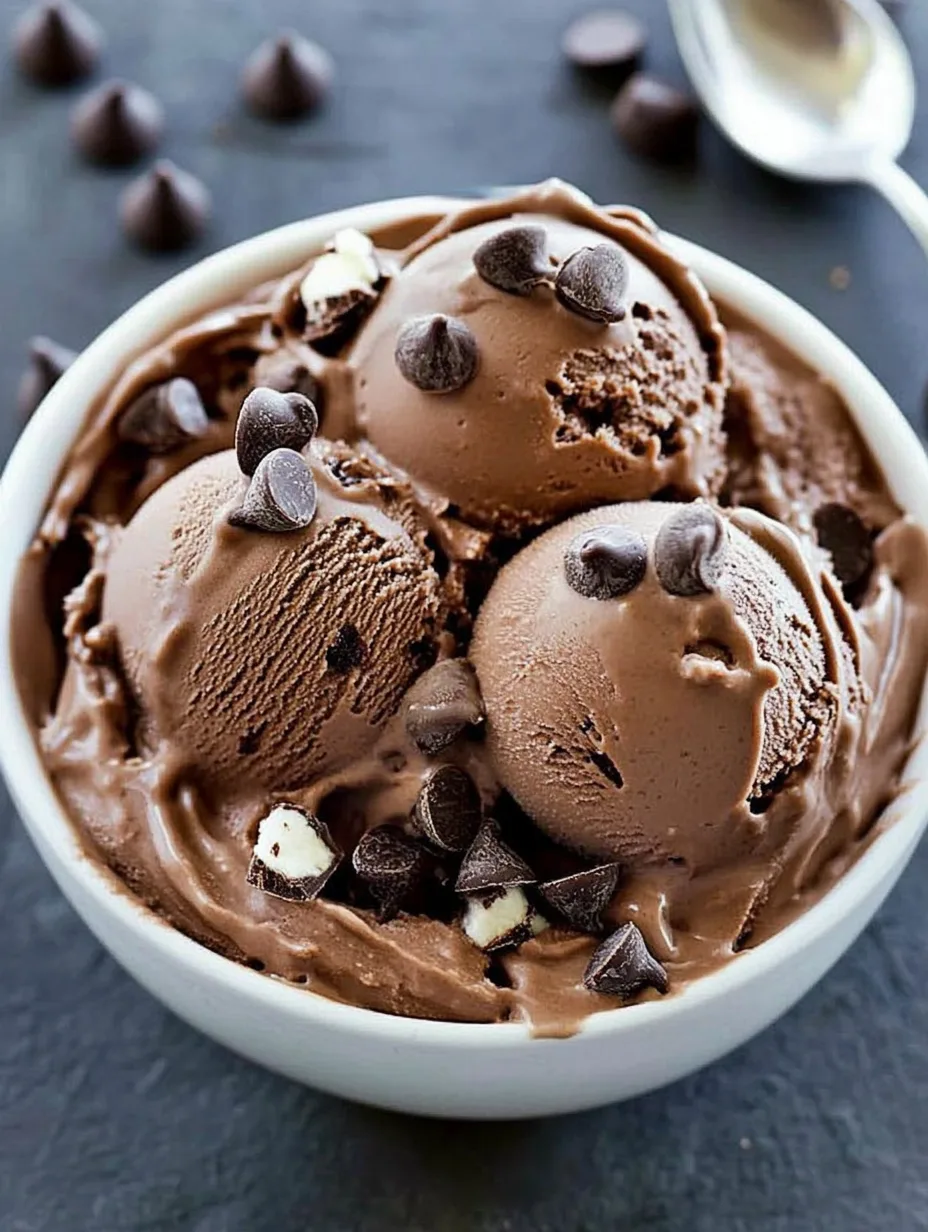
Homemade Chocolate Ice Cream with Coconut Milk is an amazing treat that will satisfy your cravings for something sweet and creamy. This delightful dessert combines rich chocolate flavor with the tropical essence of coconut, making it perfect for hot summer days or cozy winter evenings. And the best part? You can whip it up in the comfort of your kitchen with simple ingredients. Imagine scooping velvety chocolate ice cream that has a hint of coconut; it’s a match made in heaven!
By making your own ice cream, you not only control the ingredients, but you also create a special moment to share with family and friends. This recipe is not just about indulging in a delicious ice cream; it’s about creating memories. Whether you’re enjoying a bowl on the porch or serving it at a special celebration, this homemade chocolate ice cream is bound to impress.
In this article, you will delve into the reasons why this recipe is a must-try, the preparation and cooking times, a complete ingredient list, and step-by-step instructions. You’ll soon discover just how simple it is to make your own homemade chocolate ice cream with coconut milk—and why it’s going to become your go-to treat!
Why You’ll Love This Recipe
There are countless reasons to fall in love with this homemade chocolate ice cream recipe. Here are some highlights that make it absolutely irresistible:
1. Creamy Texture – The coconut milk provides a luxuriously creamy texture that rivals traditional dairy ice creams.
2. Rich Chocolate Flavor – Cocoa powder and dark chocolate create a double dose of chocolate richness that satisfies every craving.
3. Dairy-Free Option – Since it’s made with coconut milk, this recipe is perfect for vegans or those with lactose intolerance.
4. Easy Ingredients – With a few pantry staples, you can craft this delightful treat without any fuss.
5. Customizable – Feel free to add mix-ins like nuts, chocolate chips, or shredded coconut for extra flavor and texture.
6. Perfect for Any Occasion – This ice cream is ideal for birthday parties, barbecues, or a movie night at home.
With these incredible features, it’s easy to see why this homemade chocolate ice cream with coconut milk is a recipe that everyone raves about!
Preparation and Cooking Time
Making homemade chocolate ice cream with coconut milk is a straightforward process that requires minimal active time. Here’s a breakdown of the time requirements for this recipe:
– Preparation Time: 15 minutes
– Chilling Time: 4 hours (or overnight)
– Churning Time: 25-30 minutes
These times may vary slightly based on your ice cream machine and other factors, but this framework will help you plan accordingly.
Ingredients
– 2 cans (13.5 oz each) full-fat coconut milk
– 1 cup granulated sugar
– 1 cup unsweetened cocoa powder
– 1 teaspoon vanilla extract
– 1/2 teaspoon sea salt
– 1/2 cup dark chocolate, chopped (optional)
– 1/4 cup shredded coconut (optional)
Step-by-Step Instructions
Creating homemade chocolate ice cream with coconut milk is simple when you follow these easy steps:
1. Combine Coconut Milk and Cocoa: In a blender, combine the coconut milk and cocoa powder. Blend until smooth and integrated.
2. Add Sugar and Vanilla: Add the granulated sugar, vanilla extract, and sea salt to the blender. Blend again until well combined.
3. Taste and Adjust: Taste the mixture to see if it meets your sweetness preference. Adjust the sugar if necessary.
4. Melt Dark Chocolate: If using, melt the chopped dark chocolate in a microwave-safe bowl or over a double boiler. Let it cool slightly before adding it to the mixture.
5. Add to Ice Cream Machine: Pour the mixture into your ice cream maker and churn according to the manufacturer’s instructions. This usually takes about 25-30 minutes.
6. Transfer to Container: Once churned, transfer the ice cream to an airtight container. If desired, fold in shredded coconut and additional chocolate chunks during this step.
7. Freeze: Place the container in the freezer for at least 4 hours or until fully set.
8. Serve and Enjoy: Scoop your homemade chocolate ice cream and serve it in bowls or cones. Enjoy plain or with your favorite toppings.
How to Serve
Serving homemade chocolate ice cream with coconut milk can be both simple and delightful. Here are some ideas that elevate your presentation:
1. Presentation: Serve in stylish bowls or ice cream cones for a cheerful look. A sprinkle of shredded coconut on top adds an elegant touch.
2. Accompaniments: Pair with toppings like fresh berries, chopped nuts, or a drizzle of chocolate sauce for added flavor.
3. Garnish: Use mint leaves for garnishing to add a fresh aroma and visual appeal.
4. Ice Cream Sundaes: Create an ice cream sundae by layering your chocolate ice cream with caramel or fruit sauces, and top with whipped coconut cream.
5. Beverage Pairing: Serve with a glass of cold almond milk or a hot cup of coffee for a delightful contrast.
By thoughtfully serving this delicious dessert, you’ll make it a memorable moment for everyone at the table. Get ready to impress with your homemade chocolate ice cream with coconut milk—a delightful blend of flavors and textures that everyone will love!
Additional Tips
– Use Full-Fat Coconut Milk: For the richest and creamiest texture, opt for full-fat coconut milk. Light versions may affect the outcome.
– Chill Your Ice Cream Maker: Pre-chill the bowl of your ice cream maker overnight for better churning results. This will help achieve a smoother consistency.
– Experiment with Flavors: Try adding peppermint extract or a hint of espresso for a unique flavor twist.
– Serve Immediately: Homemade chocolate ice cream made with coconut milk is best enjoyed right after churning for a soft-serve consistency.
– Avoid Ice Crystals: To reduce ice crystals, stir the mixture every hour as it sets in the freezer.
Recipe Variation
Feel free to get creative! Here are a few variations you can try:
1. Mint Chocolate Chip: Add peppermint extract and chocolate chips to infuse a refreshing flavor.
2. Coconut Macaroon Style: Incorporate shredded coconut into the mixture and top with toasted coconut flakes when serving.
3. Almond Joy Inspired: Mix in chopped almonds and swirl in some almond extract for a nutty twist.
4. Spiced Chocolate: Add a pinch of cinnamon or cayenne pepper for a warming, spicy kick that complements the chocolate beautifully.
Freezing and Storage
– Storage: Store your homemade chocolate ice cream in an airtight container to prevent freezer burn. For optimal freshness, consume it within 1 to 2 weeks.
– Freezing: Keep the ice cream frozen until you’re ready to serve. Make sure to allow it to sit at room temperature for a few minutes before scooping to soften.
Special Equipment
You’ll need a few essential tools to create your delicious homemade chocolate ice cream with coconut milk:
– Blender: For combining the ingredients smoothly.
– Ice Cream Maker: An automatic or manual ice cream maker is crucial for achieving the perfect texture.
– Airtight Container: To store your ice cream once it’s churned.
– Measuring Cups and Spoons: Accuracy is key for the best results.
Frequently Asked Questions
Can I make this without an ice cream maker?
Yes, you can pour the mixture into a shallow dish and freeze it. Stir every 30 minutes for a few hours until it reaches the desired consistency.
What can I replace the sugar with for a healthier option?
You may substitute granulated sugar with agave syrup, maple syrup, or a sugar alternative like stevia, adjusting the quantity to taste.
How do I make it more chocolatey?
Add more cocoa powder or melted dark chocolate for an even richer chocolate flavor.
Is this recipe suitable for kids?
Absolutely! This ice cream is a fun and delicious treat that kids will surely love, especially since it’s made with natural ingredients.
Can I add other mix-ins?
Definitely! Try adding cookie pieces, maraschino cherries, or even swirls of fruity sauces for added texture and flavor.
Conclusion
Homemade chocolate ice cream with coconut milk is not only simple to prepare but also a deliciously creamy and satisfying dessert. With rich chocolate flavor and the hint of coconut, this ice cream is the perfect treat for any occasion. Get ready to impress friends and family with this delightful recipe, and enjoy creating sweet memories together!

Homemade Chocolate Ice Cream with Coconut Milk: An Incredible Ultimate Recipe
- Total Time: 15 minute
Ingredients
– 2 cans (13.5 oz each) full-fat coconut milk
– 1 cup granulated sugar
– 1 cup unsweetened cocoa powder
– 1 teaspoon vanilla extract
– 1/2 teaspoon sea salt
– 1/2 cup dark chocolate, chopped (optional)
– 1/4 cup shredded coconut (optional)
Instructions
Creating homemade chocolate ice cream with coconut milk is simple when you follow these easy steps:
1. Combine Coconut Milk and Cocoa: In a blender, combine the coconut milk and cocoa powder. Blend until smooth and integrated.
2. Add Sugar and Vanilla: Add the granulated sugar, vanilla extract, and sea salt to the blender. Blend again until well combined.
3. Taste and Adjust: Taste the mixture to see if it meets your sweetness preference. Adjust the sugar if necessary.
4. Melt Dark Chocolate: If using, melt the chopped dark chocolate in a microwave-safe bowl or over a double boiler. Let it cool slightly before adding it to the mixture.
5. Add to Ice Cream Machine: Pour the mixture into your ice cream maker and churn according to the manufacturer’s instructions. This usually takes about 25-30 minutes.
6. Transfer to Container: Once churned, transfer the ice cream to an airtight container. If desired, fold in shredded coconut and additional chocolate chunks during this step.
7. Freeze: Place the container in the freezer for at least 4 hours or until fully set.
8. Serve and Enjoy: Scoop your homemade chocolate ice cream and serve it in bowls or cones. Enjoy plain or with your favorite toppings.
- Prep Time: 15 minutes
- Cook Time: 25-30 minutes
Nutrition
- Serving Size: 8
- Calories: 320 kcal
- Fat: 22g
- Protein: 3g